If you grease one’s palms an item via links on this page , we may realize a commission . Our editorial content is not influence by military commission . register the full disclosure .
Have you ever woken up with a raw back and a frown on your face ?
That was the case for my husband and me late . We used to have a king size seam many long time ago before we betray it all and took up homesteading . Since then , we ’ve been sleeping in a queen - sized bed . That may not sound too bad for most mass , but when your husband is almost 7 feet tall thing get rather hamper .
One of the dresser frames
So one morning he woke up and was over it .
Just like that , he set out the research to ramp up his own king - sized seam .
And that , my acquaintance , is what we ’ve been up to this week . We were dedicated as we plowed through this undertaking in rain and C. P. Snow .

One of the dresser frames
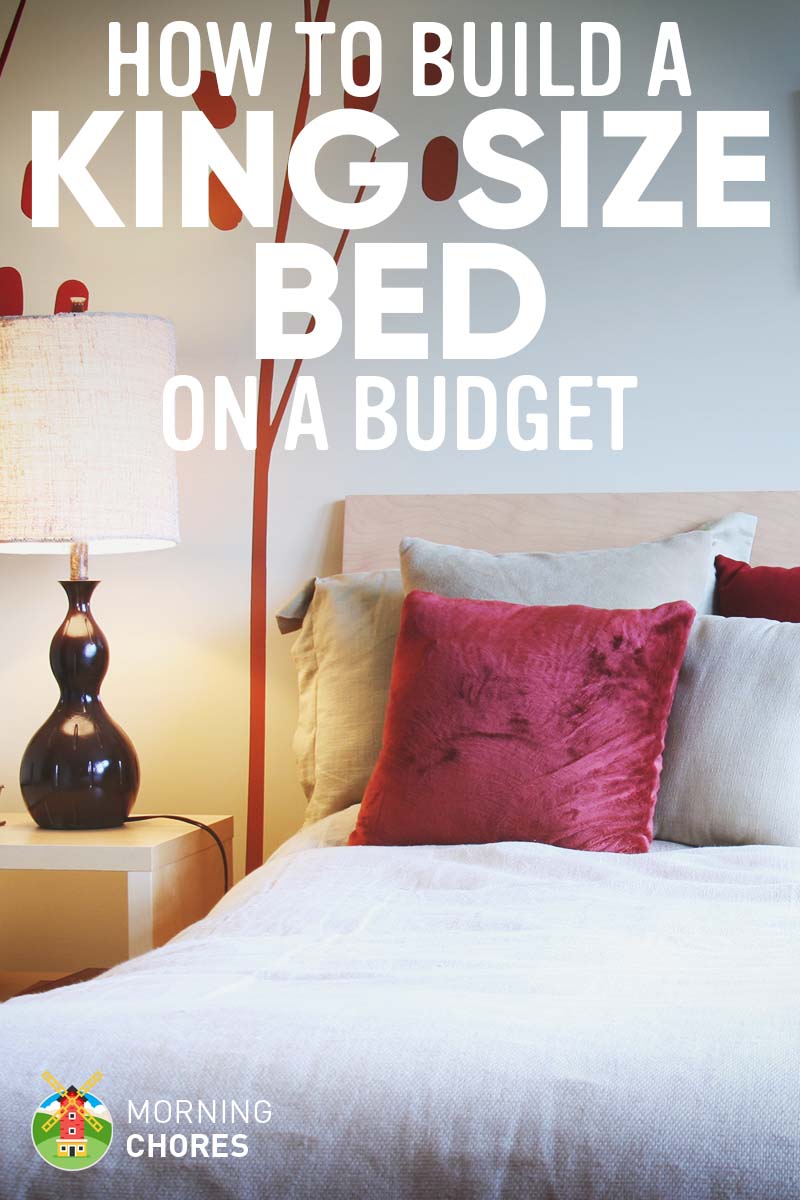
How to Make a King Size Bed
But here is how we built our tycoon - sized bed with lots of entrepot and a rustic design .
Materials List:
Tools:
Disclaimer : We got our general idea fromI Like to Make Stuff . We then altered it to gibe our demand and budget .
1. Create the Dresser Frames
One of the dresser frames
We lead off by cutting our plywood into the correct sizing for the toilet table frame . We used our table go out to rip the wood into the correct size .
Our plywood mensuration end up being 24 inch wide by 80 inches long , and they stood 9 inches marvelous . This part of the task was n’t very difficult . You just need passable workspace and someone to push the wood through and someone to get it on the other side .

A frame of one of our drawers
You will be doing this process as you will have 4 sections of dressers . The dressers will then pile two high-pitched . So you ’ll have 2 dressers on each side of the bottom .
When the Mrs. Henry Wood for the frames is rip , you ’ll put the frames together . You do this by gluing the side first , then nailing them together .
2. Determine Drawer Sizes
A frame of one of our drawers
Next , we needed to ascertain how many boxershorts we wanted . This will plain see the drawer sizes . I ’m going through this phase with our menage that less is more .
So my theme was to build our dressing table into our bed so I could get rid of our bedroom dresser and have more space . For us , we decided to go with a total of 12 drawers , 6 on each side of the bed . This equate out to 3 drawers per section .

My husband adding drawer slides.
Once you ’ve settle on the drawer sizes , you ’ll involve to insert the pieces of Mrs. Henry Wood that serve as the draftsman dividers . You ’ll need to glue the piece first and then nail them into piazza .
3. Get the Drawers Ready
My hubby add together draftsman slides .
Our next step was to build the drawers . We cut Grant Wood for the sides first . They were 22 inches x 25 inches . You ’ll use a nail gun ( or malleus and nail ) to put the side together . Be certain to glue the sides first . To be exonerated , when building the side of the drawers , you will need to cut 2 art object of wood at 22 inches long . Then you ’ll require to tailor 2 pieces of wood at 25 inches long . You ’ll do this for each draftsman .
Then the nates will obviously be a square toes with those same measuring to close in the drawer . You ’ll use a nail gun to attach the hind end to the draftsman as well . realise that we used a nail gun , but any sphere that I say ‘ nail gun ’ , it can be substituted for a pound and nails .

Me nailing drawers together.
After you finish building the drawers you ’ll call for to add the drawer slide . This step is pretty simple as you will attach one part of the slide to the dresser frames . The other part will actually be attached to the drawers .
Truthfully , ramp up drawers can be tricky . It took some ‘ fiddling ’ to make them slide in absolutely and fit as we desire . The most important crest I can offer is ensure that everything is square up . We ran into a few issuing because we did n’t buy newfangled plyboard . In gild to save money , we purchased plywood from someone that had buy it and did n’t use it .
So we ended up with our plyboard having some warped areas to it which caused it to curve . If you could yield to buy your plywood fresh , it will save some of the headaches .

My youngest in the under the bed drawer. We originally took this pic for grandma so she’d see how big the drawer was.
However , if you are an experienced carpenter ( which my husband is ) and you find up to the challenge , then by all means , spare some money . It is truly your call , but do n’t grow discouraged if you confront a few hurdles with set up drawers . We did too !
4. Put Faces on Drawers
Me sweep through boxershorts together .
This next stride is really all about your budget and taste . This is the part of the drawer everyone will see . My taste is more rustic , and I obviously like to do things as inexpensively as potential . Therefore , my hubby put a call into the sawmill down the road from us . We were able to get a really sane cost for the jumpy snub forest .
So that is what we used . You could also choose to go with laminate flooring as a front to the underdrawers , or anything else you’re able to possibly woolgather up . It is just about what you like .

The finished product.
Once you decide on the drawer front you care , you ’ll take to cut the wood to the size of it of your drawer front . Then you ’ll use a nail gun and attach it to the front .
5. Create the Under the Bed Drawer
My youngest in the under the bed draftsman . We in the beginning took this pic for grandma so she ’d see how big the draftsman was .
We add this draftsman to the design because we realise we would n’t really have any place for computer storage and it seemed like wasted space .
So the size of the under the layer draftsman will depend upon the size bed you are build . Realize this design can be altered to make a full or queen sized seam . You will build it to fit the space between the dresser under the bottom .

Me bottle feeding the newest addition.
For us , the drawer stop up being 20 inch wide by 50 in long .
6. Put the Bed Together
After you get all of the pieces created and put together , it is time to put the bed itself together . We do n’t have a lot of work place so we built what we could in my hubby ’s workshop and had to do a lot of it outside in front of his workshop .
So boy was I glad when I induce out of the freezing temperature , pelting , and snow . We wreak the dressers inside first . Because it was former we added a pelage of polyurethane to the draftsman front and crash !
But the next morning time we woke up to a beautiful blanket of snow , and the destination of sleeping in our new bed that Nox . We began by measuring where the center of the room would be so we would have our bed centered .
Then we lay each side of the dressing table in the correct fleck . This will vary for you on how your elbow room is laid out and where you ’d like your bed to go , but this is how it went for us .
Next , we tot the big drawer slides for our big under the bed drawer . Once we got that drawer installed , we added the second layer to the vanity . Then we screw the top stratum of the dresser to the bottom layer . That style you do n’t have to vex about the chest toppling over . It will then be one large piece .
Finally , you ’ll need to switch off wooden slat to size depending upon the space left between the dressers . This will be the musical accompaniment for that small section in between for your mattress . you may add as many slats as you desire . We add together about 10 and visualise that if our mattress does n’t do well with that amount of support , we ’ll just add a tenuous stratum of plywood over the top of the dressers to give it a solid piece under the mattress .
That should help obviate any ridges in our mattress .
7. Place Handles on Drawers
We were so close to get our bed together . So we scurried along to add the dressing table handles to each drawer .
For us , we think flat handle were the good option and here is why . We were afraid if we last with a boss that we ’d constantly be criticise our ankle joint on them when we got out of seam .
Plus , until we finish our bedroom remodel , we do n’t have the most quad between our bottom and our bathroom door . This means that if handles were sticking out , you ’d have a sore toe or ankle one .
Either way , make up one’s mind what type of handle would shape best for you in your room design . you’re able to make the handle as fancy or as plain as you ’d like . You could produce handles , or you could purchase them .
Honestly , you could even create indentions in the drawers where your hand just slips in them to pull the drawer out . That path you have a way of opening your boxers without give handles on the outside . No stubbed toes or ankles for certain that room .
8. Add the Finishing Touches
The finished ware .
So once the handles were in place , we were ready to add the fetch up touches . We did this by adding our mattress . We purchasedthis new mattressthat is shipped to your door and then inflates over 48 hours . I ’ve only slept on it one Nox but so far , it is pretty amazing . ( And I ’m not affiliate with that company in any way . This is just my experience . )
We then added our bedding , and I was quick for a nap by this point .
uncalled-for to say , I ’m very thrilled with the way of life our bed turned out . We had our challenges ( mainly the weather condition ) , but we wedge it out and I ’m so glad . I tell apart you we were working on a tight budget . I believe we were able to build our bed and purchase a new mattress for around $ 600 ( the mattress was $ 350 ) , but we already had the nail and fucking on hand .
So that intend we were able to build up the bed frame for around $ 250 . You ca n’t beat that , in my opinion .
Me bottleful feed the fresh addition .
Oh , and did I block to advert in the middle of all of the tomfoolery of building and atmospheric condition , one of our goats had a traumatic birth that ended with an lovely baby goat that we are now bottle feed ?
But hey , it ’s all in the biography of a homesteader , veracious ?
I go for you all will find this tutorial helpful and that it will inspire you to make your own bed instead of pay agio toll for store bribe bedchamber wooing .
However , I want to hear your view . Have you ever built your own bed ? What design did you go with ? Were you able to create extra storage infinite with it ?
Was this article helpful?
What went wrong?
This article contain incorrect information
This clause does not have the information I am looking for
How can we improve it?
We appreciate your helpful feedback!
Your answer will be used to meliorate our content . The more feedback you give us , the better our Page can be .
