If you buy an point via links on this page , we may pull in a commission . Our editorial content is not work by commission . Read the full disclosure .
Are you looking to have a genuine , quondam - fashioned Christmas ? I am ! I do n’t like the new elbow room of doing things where you feel pressure to spend all kinds of money ( most of us do n’t have ) for a single day solemnisation .
Instead , I like to keep gifts wide-eyed , decorations uncomplicated , and eat the food I ’ve grown to make an enjoyable repast for my family .

However , in judge to keep decorations uncomplicated , I ’ve find out to make them myself is the brassy option . It ’s also a swell manner to make computer memory with my family .
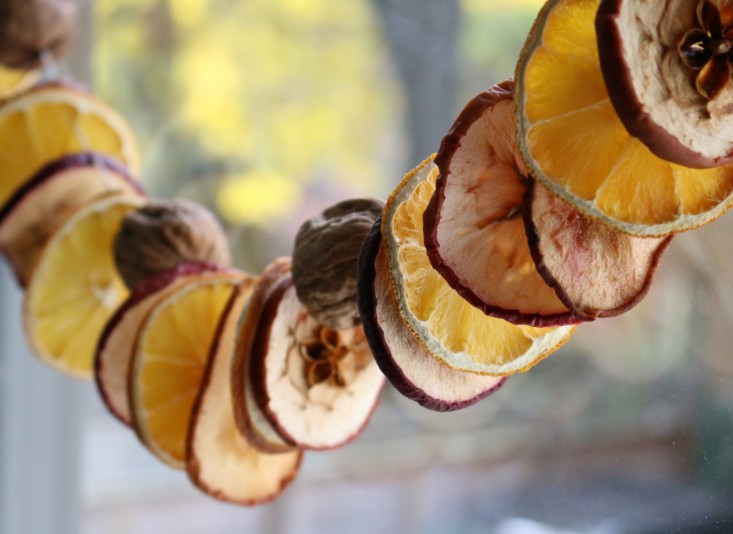
One affair we ’re doing this year is decorating our tree with dried yield ornamentation . They ’re simple to make and inexpensive too .
Here ’s how you’re able to make your own DIY dry out fruit ornaments :
You’ll Need:
1. Prep Your Oven
To begin make your ornamentation , decide whether you ’d like todehydratethem using a dehydrator or if you ’re going to utilise your oven .
If you do n’t have a dehydrator , preheat your oven to 200 ° fluorine . If you ’re using a dehydrator , attract it out of memory board and check that everything is clean and quick to be used .
Once your dehydrating equipment is ready to roll , you ’re ready to get deal - on with urinate ornamentation .
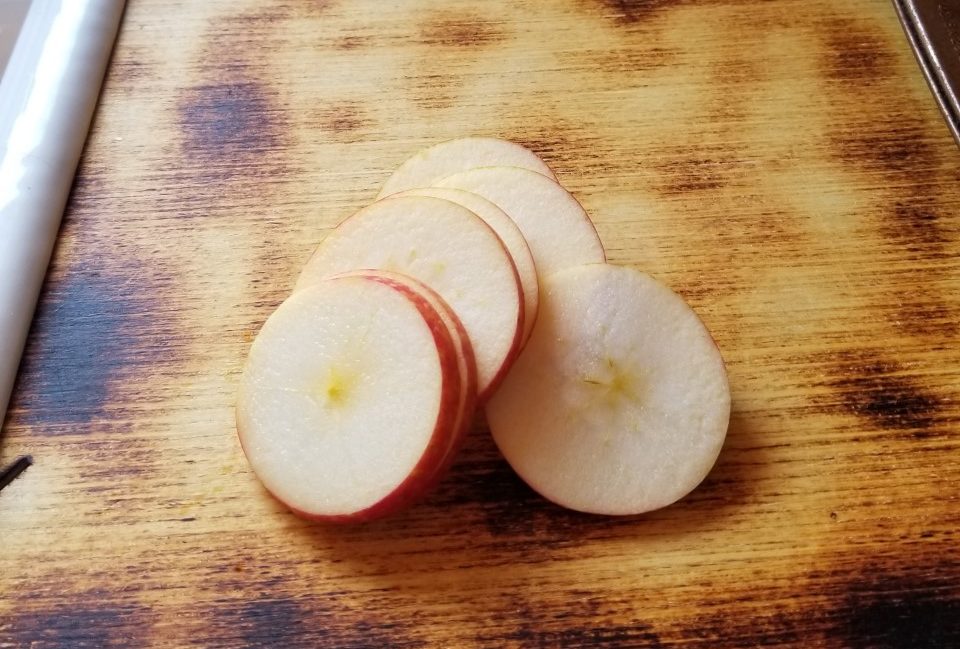
2. Slice the Fruit
The decoration themselves will be made out of your choice of fruit . I favour to utilize what yield I have on hand or in storage in my root cellar .
You may want to apply the same method or use whatever is on sales event at your local foodstuff fund . It ’s your choice .
Some of the best fruits to use for this project are apple , orangeness , pear tree , and starfruit . They each bring something different to the table with their unique designs and colour .
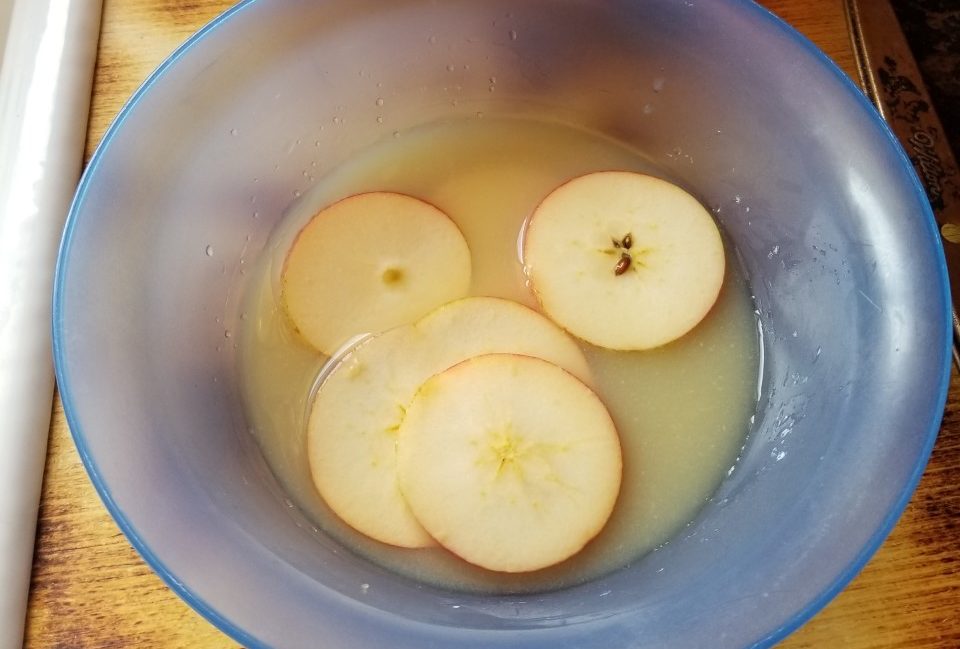
When your fruit is picked out , slice it into ¼-inch thick slice . Malus pumila should be dunked into a bowl of lemon juice . This will aid them in keeping their original gloss instead of turning brownness .
3. Dry, Sprinkle and Poke
After your slices are finished , lay them out in rows on paper towel . Place the 2nd layer of composition towels on top of the rowing of yield .
Any excess wet will then be absorbed before placing them into the dehydrator or oven . When the paper towels are finished absorbing the liquids from the yield , swob the top side of the yield once more .
When finished , spatter spices on the fruit . This stone’s throw is optional , but it can help impart a endearing fragrance to your home during the vacation season .

A Good option of spices for this step are cinnamon , clove , nutmeg , or you’re able to do a mixture of them all by adding orchard apple tree pie spice .
Either agency , when the yield slices have been sprinkled with spice , you ’re quick to add the cakehole for the string to outfit through .
you may apply a toothpick or any other small , sharp object ( perhaps a needle or sharp pair of craft scissors hold would work ) to put a small muddle in the top of the fruit . Be certain the hole is big enough to jibe a patch of twine through it .
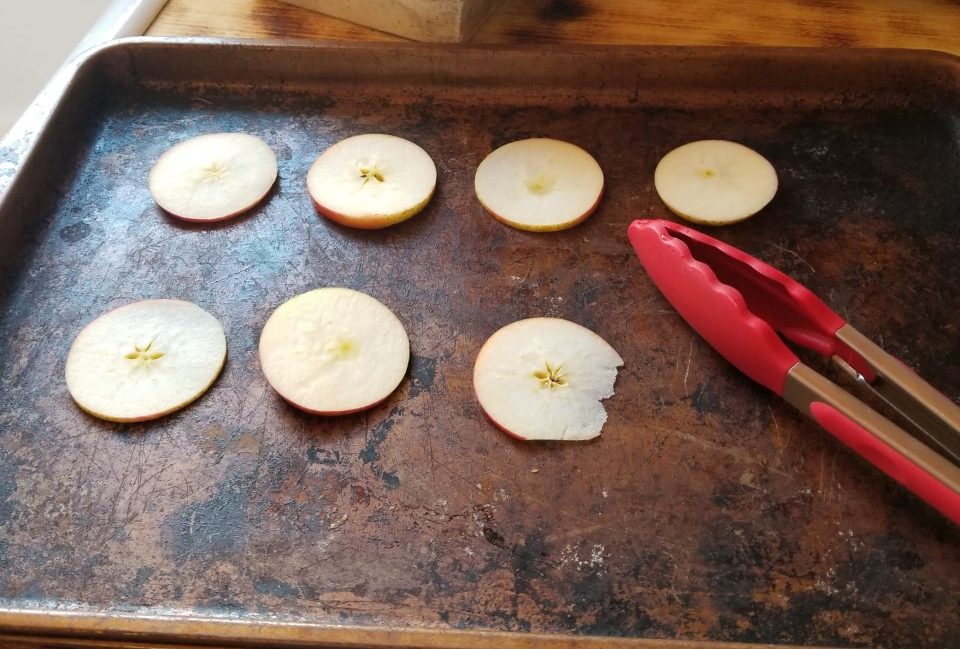
4. Time to Dry
Now your fruit ornamentation are ready to begin the dry unconscious process . If using an oven , aim the yield pieces on a baking sheet and put them in the oven to dry for 4 - 6 hours .
If you ’re using a dehydrator , see the manual of arms for your simple machine forproper drying time . unfold the fruit slices out on the trays and turn the dehydrator to the appropriate temperature for yield .
Again , you may need to check your manual for specific . You ’ll wait until the time is up , and you sense positive they ’re ironic enough to be used as ornament .

5. Turn Them into Ornaments
When the fruit slices are dried , you ’re quick to turn them into ornaments . reduce pieces of twine into 6 - in pieces .
lead the twine through the hole in the fruit piece and tie a knot at the top when the two oddment of string total together .
It should create a loop which will be how you ’ll hang the ornaments on the tree .
6. Add a Personal Touch
This final stone’s throw is another optional step in the process . If you ’re trying to do a ‘ themed ’ tree diagram or if you ’re create these ornament with kids , decorating is a great way to make this more gratifying or to get the decorations to fit in even better .
Therefore , you could use different craft items to add some pizazz to your ornaments . You may want to consider placing button in the kernel of the decoration for an old - fashioned but unique looking at .
You could also add together ribbons or little bows to the ornament as well . A arc at the top or the bottom of the ornament would be a overnice signature , or adding a ribbon schema to the decoration could supply some colour too .

Consider adding glitter to the decoration . You may have it everywhere , but it ’ll certainly make your Christmas Sir Herbert Beerbohm Tree shine , and the kids will know it .
If you have n’t used glister in a while , add glue to the ornaments , splash the glitter on it , and shake the ornamentation off over a paper shell ( for easy disposal . )
you’re able to create dissimilar conception with glue or cover the whole ornamentation for a sparkly DIY Christmas ornamentation .
A last suggestion would be to turn the ornaments into Christmas tool . You could make them look like reindeer by add googly eyes , a red glitter nose , and a button grin .
You could do the same thing with creating a Frosty the Snowman head . The choice are as vast as your imagination .
7. Make Them Last
If you ’d wish to do this craftsmanship once and not have to do it for class to fare , consider adding a clear craft varnish to the ornament .
This varnish will seal them . The downside is you recede the refreshing fruit and spiciness smell , but they should last a long fourth dimension when coated .
If you take to cake your ornaments in varnish , wait until after they ’ve dried . expend a low pigment - brush and coat one side of the ornaments in the varnish .
When one side has dried , flip them over , and paint the other side of the ornaments with the varnish . It ’s a simple and inexpensive way to haveDIY ornamentswhich will last for years .
I know you ’ll bask make these cheap and gorgeous DIY Fruit Decorations ideas – I did ! They ’re a peachy agency to make memories with the kids or deposit with an quondam - fashioned theme for your Christmas .
Remember , you could use them to solely decorate your tree or mix them with other Christmas yield ornament as well . The sky is the point of accumulation with what you’re able to make at Christmas .
Was this article helpful?
What went wrong?
This article arrest incorrect information
This clause does not have the information I am looking for
How can we improve it?
We appreciate your helpful feedback!
Your reply will be used to better our depicted object . The more feedback you give us , the better our page can be .
