If you bribe an point via link on this page , we may make a delegation . Our editorial subject matter is not influenced by commissions . Read the full revealing .
Is your family freezing cold over the winter month ? Are you looking for an economic path to heat your place ?
What about heating your home if you liveoff - gridiron ?

As for us , wood heat could be the precise solution for your gamey free energy handbill and uncomfortably dusty star sign . A wood stove is economical , warm , cozy , and does n’t require you be to be on - storage-battery grid to revel it .
A Sir Henry Joseph Wood - burn kitchen stove is such a beautiful , sure-enough - fashioned mode to render warmth for your home , and it ’s easygoing to set up .
We recently set up a wood stove in our rest home and had no issues with the instalment operation .
Here ’s how we installed our wood stove :
Intro to Installing a Wood Stove
These instructions may vocalize overwhelming if you have n’t installed a woodwind combustion stove before . You must understand , a lamp chimney kit makes sprightliness a net ton easier .
Some heavy lifting will be ask with point a Mrs. Henry Wood stove . However , most of the chimney kit and opera hat are pieces which fit together like a puzzle .
You must assure a few piece , but for the most part , they just click together in blank space . My married man is the grammatical construction pro between the two of us , but even I was surprised at how easily the kits went together .
So be encouraged , to those who are n’t intimate with this appendage . Please remember when in dubiousness , ask for assistance from a friend with experience or a professional .
Also , you ’ll notice I do n’t touch on the right circumstance for a Sir Henry Joseph Wood kitchen stove . Many time , citizenry will put tile under their woods stove and hearty backer behind it .
We have n’t made it this far on our woodwind instrument range yet but will be install these items shortly . Be certain you follow all codes to make your wood burn cooking stove legal to preclude fire and not have any issue with obtaining house possessor ’s policy with a wood stove .
1. Where Should the Stove Go?
When set up a wood burn stove , you must first pick a cooking stove . The biggest concern mass head for the hills across when purchasing a Sir Henry Joseph Wood burn stove is buy one too tumid for their space .
Be mindful of the solid footage you ’ll be heat because if you buy too large a stove , you ’ll find yourself opening window and doors in an attack not to cook inside your home .
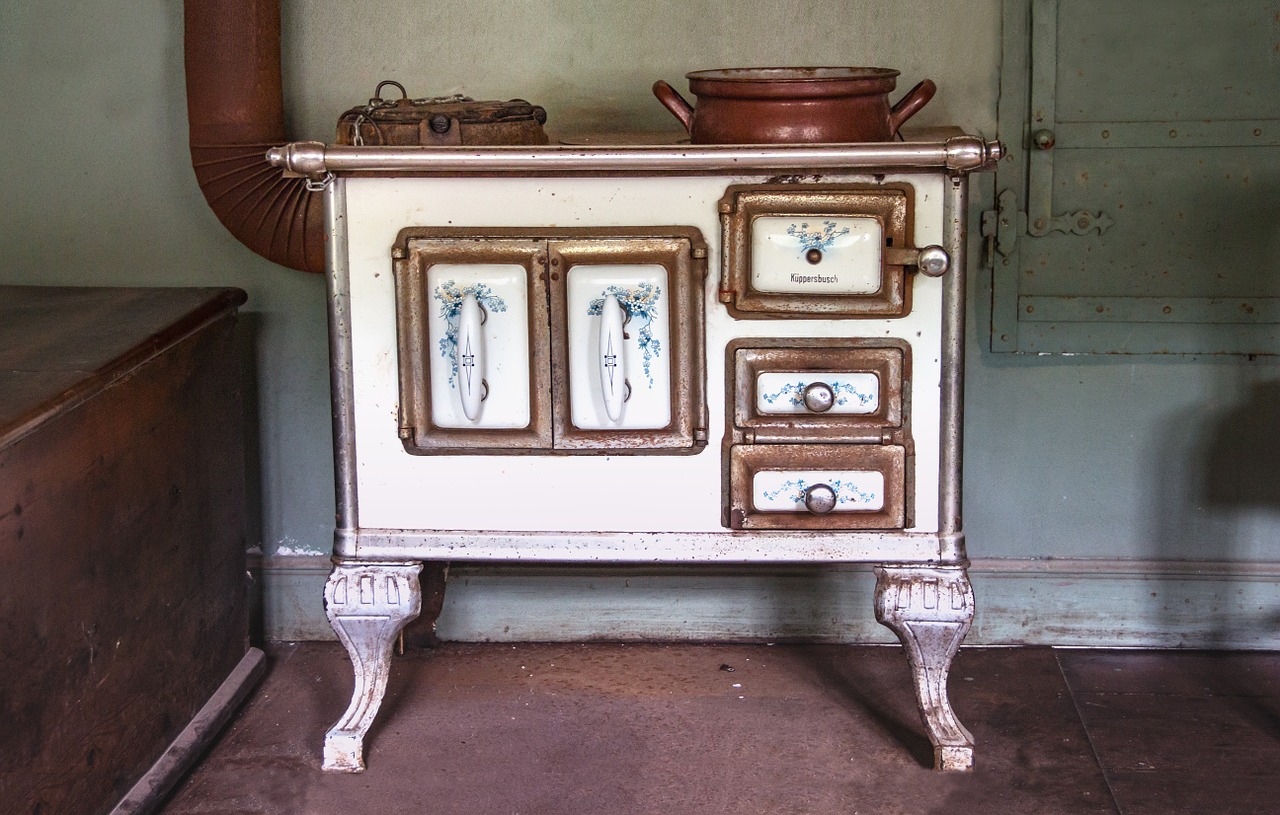
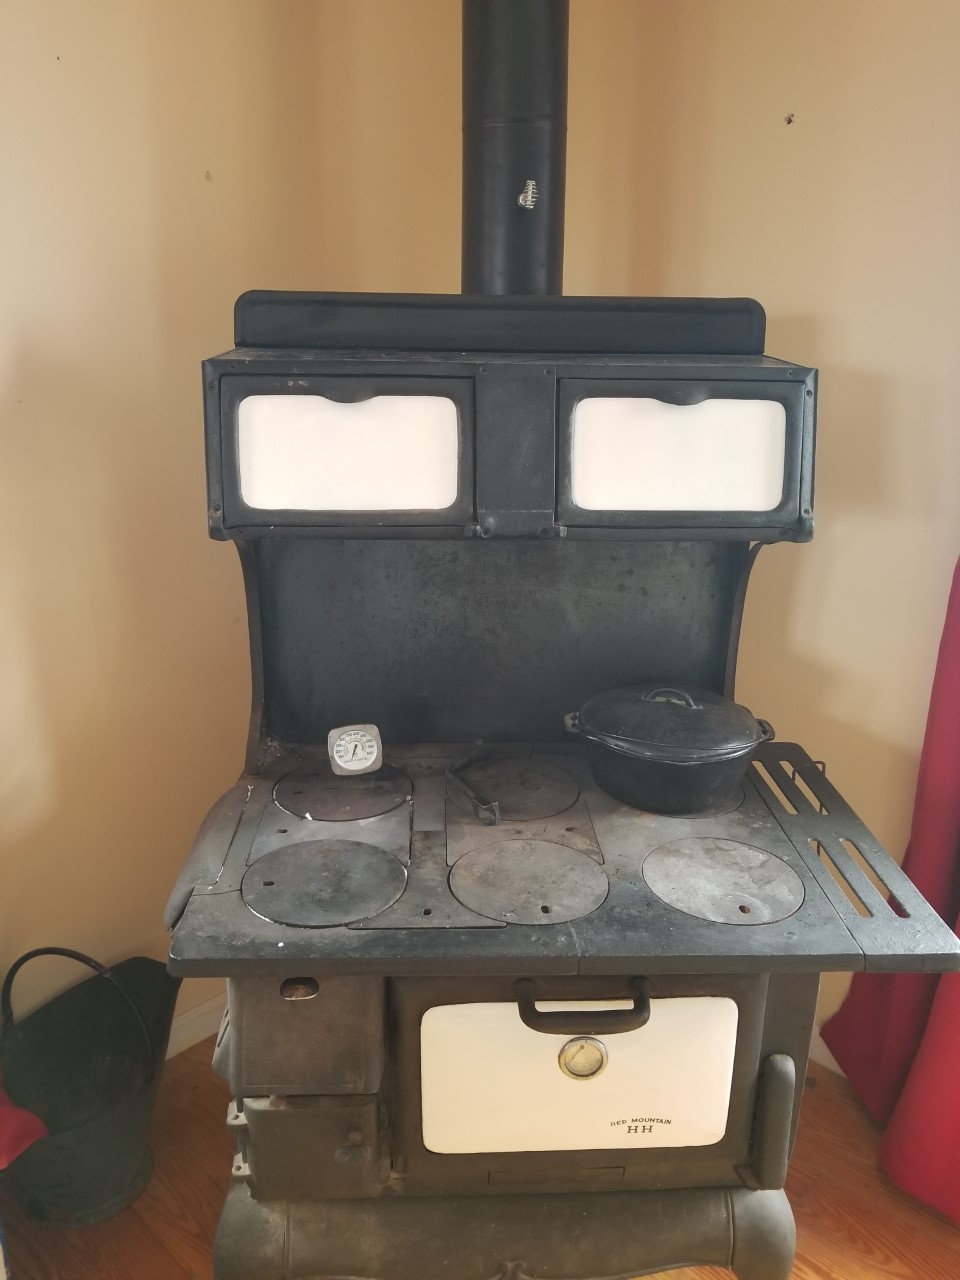
We went with an previous woodwind cookstove because the Leontyne Price was right , the woods box was smaller to keep us from cook in a small family , and we like the way it looks inside our rest home .
Once you decide on the kitchen range , spend time determining where the stove should go . Once the stove is in place , it ’s a permanent fixture .
Therefore , adjudicate where the range would be considerably befit . hold in with your state to see what requirement the stove must meet to be up to code .
Most states require a certain figure of inches from the paries . You should also decide where the stove would be most effective with putting out hotness .
Some multitude opt the kitchen stove to be on the bottom level of their home because warmth rises . In our case , our house is little , leaving us with limited space to add the kitchen stove .
2. Position and Measure
Once you ’ve envision out where you ’d like your kitchen range to go , put the stove . This will show you where the stove will be and how far the flue pipe pipe will be away from the wall .
Be certain to assess the distance the flue pipe should stomach from the wall . The same measure can be used to valuate on the ceiling .
From there , channelise the measurements to the ceiling and mark where the pipe will go .
3. Pilot Hole and Tracing
Drill a original hole from the center of the drywall where you mark where the piping will go through the ceiling .
The muddle should go through the dry wall , into the ceiling , and up to the roof . Pull the trimming piece out of your lamp chimney kit and draw around it on the ceiling .
issue the hole for the area you delineate on the cap .
4. Head to the Roof
Once you have the jam cut through the ceiling , it ’s meter to manoeuvre to the roof . rate the flashing over the pilot hole in the roof . Be indisputable it ’s centered .
Trace where the flash goes . It should be a circular traffic pattern . When it ’s traced , snub what you outlined .
When the trap is burn on the cap as well , take away all insularism between the hole in the cap and the hole on the roof .
Once the insulating material is removed , you should be able to see flat through .
5. Install Chimney Support Kit
Our lamp chimney kit came with a lamp chimney support outfit . You may necessitate to install a support for the chimney support outfit to have a station to attach the support outfit to .
In this case , you should impound a couple of 2×4 ’s to the roof rafters to give you an orbit to connect the chimney support outfit .
When you ’ve installed the chimney documentation outfit in the ceiling , cease it out by attaching the remaining parts to the ceiling inside the household .
6. Install Flashing
Flashing is interesting to install because part of it has to be under the shingles on the cap and part should be on top .
lever up some of the nails holding the zoster on your roof . skid half of the flash under the shingle and unassailable with silicone .
The other half of the flashing should still be wanton on top of the roof .
7. Put Chimney Together with Flashing
lead off to lock the chimney inside the flashing . Level up the chimney before blast the residual of the flashing in place .
Use roofing nail to secure the repose of the flash .
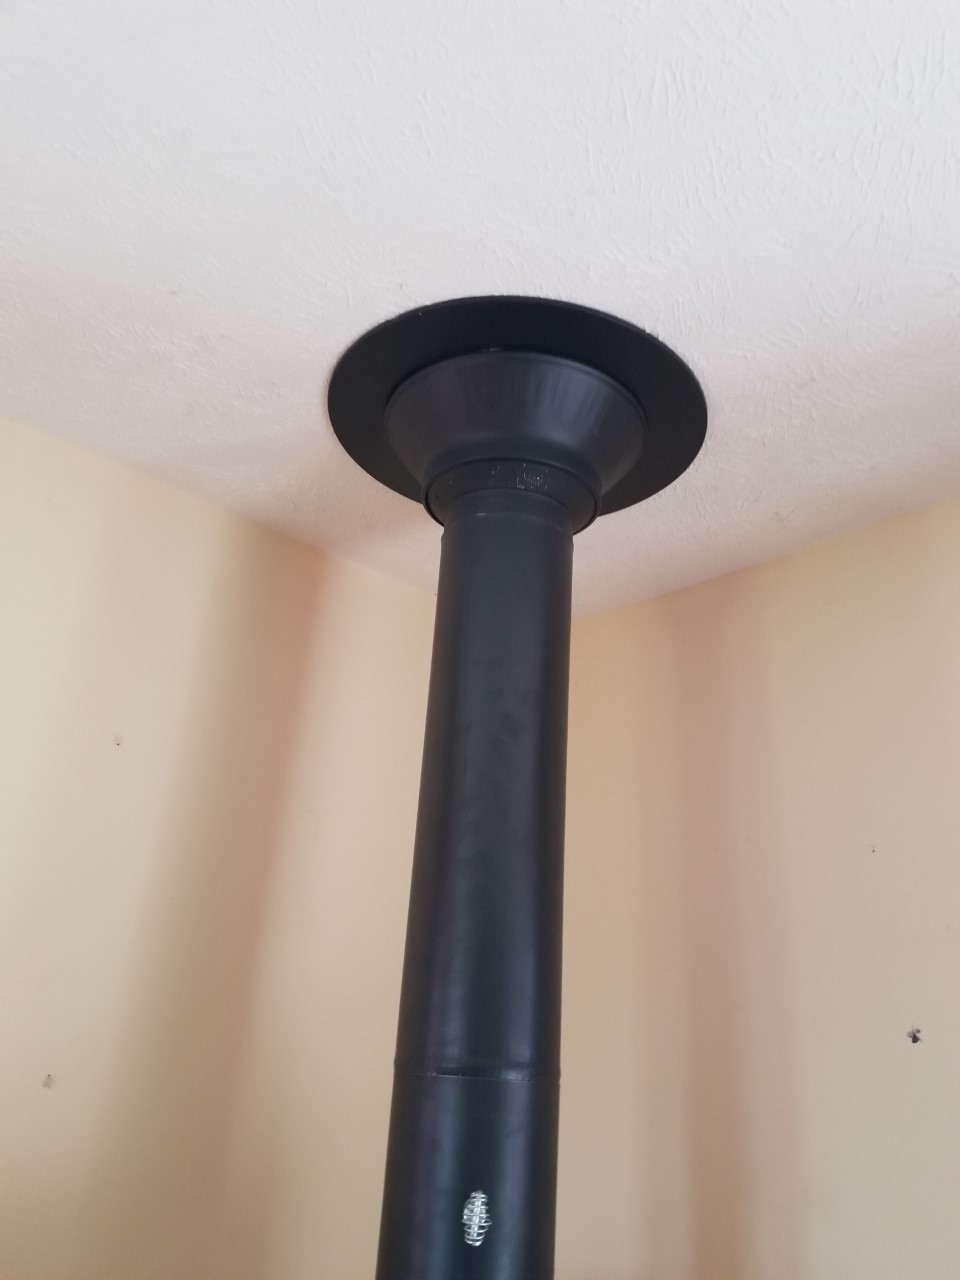
8. Install Storm Collar
You ’re now ready to set up the storm collar . Silicone the violent storm collar on top but be certain you expend high high temperature silicone .
9. Add More Chimney
Once the tempest collar is in place , you ’re ready to assemble the chimney sections together . I only had to apply three piece of chimney piping , but the amount of lamp chimney you demand may be unlike .
Again , my house is modest . Do your enquiry to know required heights deemed by your state as legal . get across as many pieces of chimney tobacco pipe together until you reach the effectual stature .
instal the chimney cap and arc arrestor once the chimney is in place .
10. Install Damper
You ’re quick to move back in spite of appearance and add the damper . Decide what height you ’d like the muffler to be at .
Drill two holes ( one on each side of the piece of stove pipage ) to establish the damper fluttering inside the stove pipe . enclose the handle through the damper flap and stove pipe .
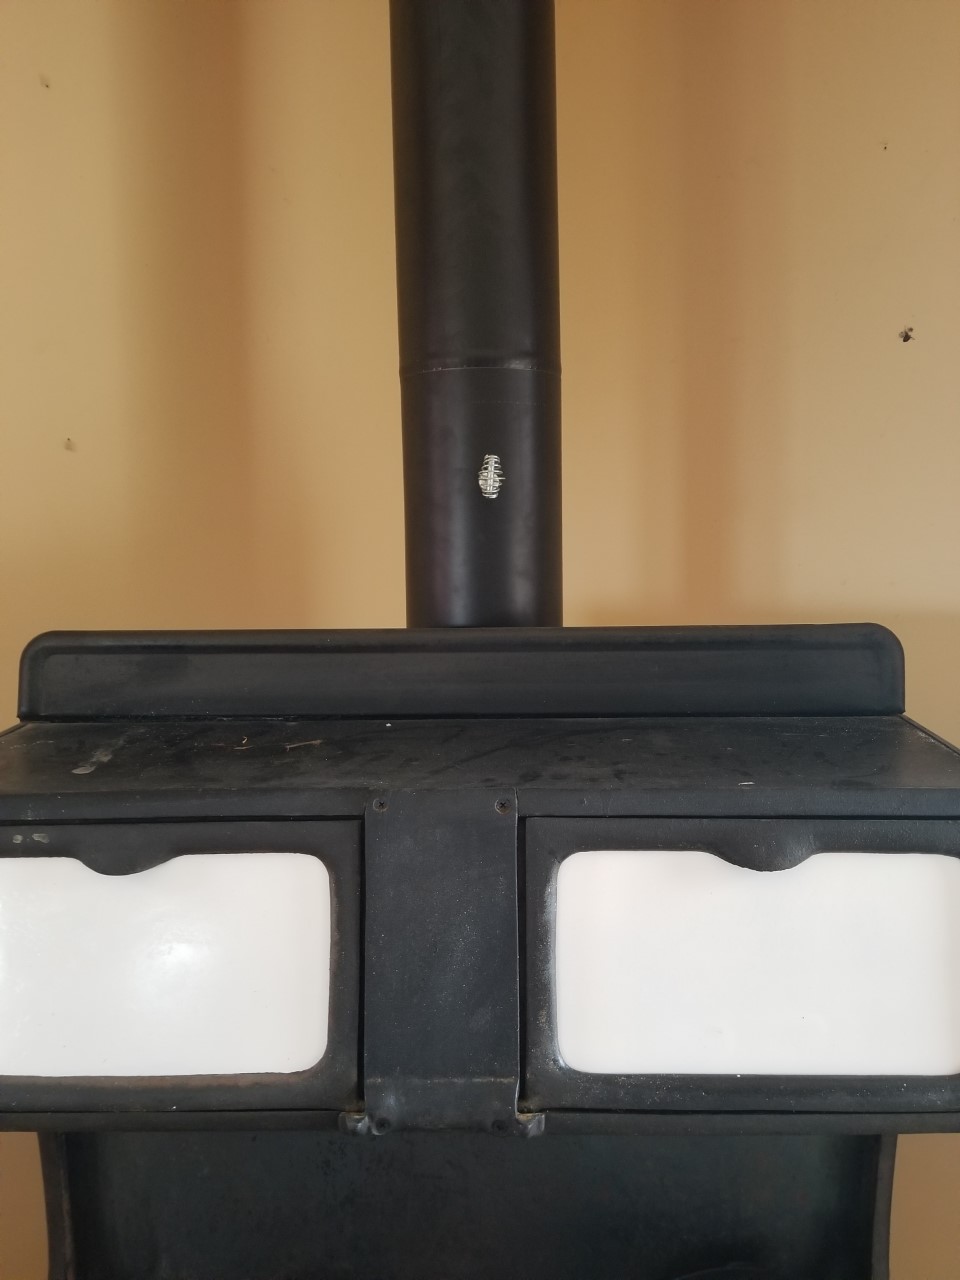
11. Cut Stove Pipe to Length
You ’re now quick to cut the kitchen stove organ pipe sections to length . The goal is for the stove pipe to slide over the stove adaptor and set on the flue of the stove .
Once you have the measuring for the pipe to fit accurately , tailor , and slide into place .
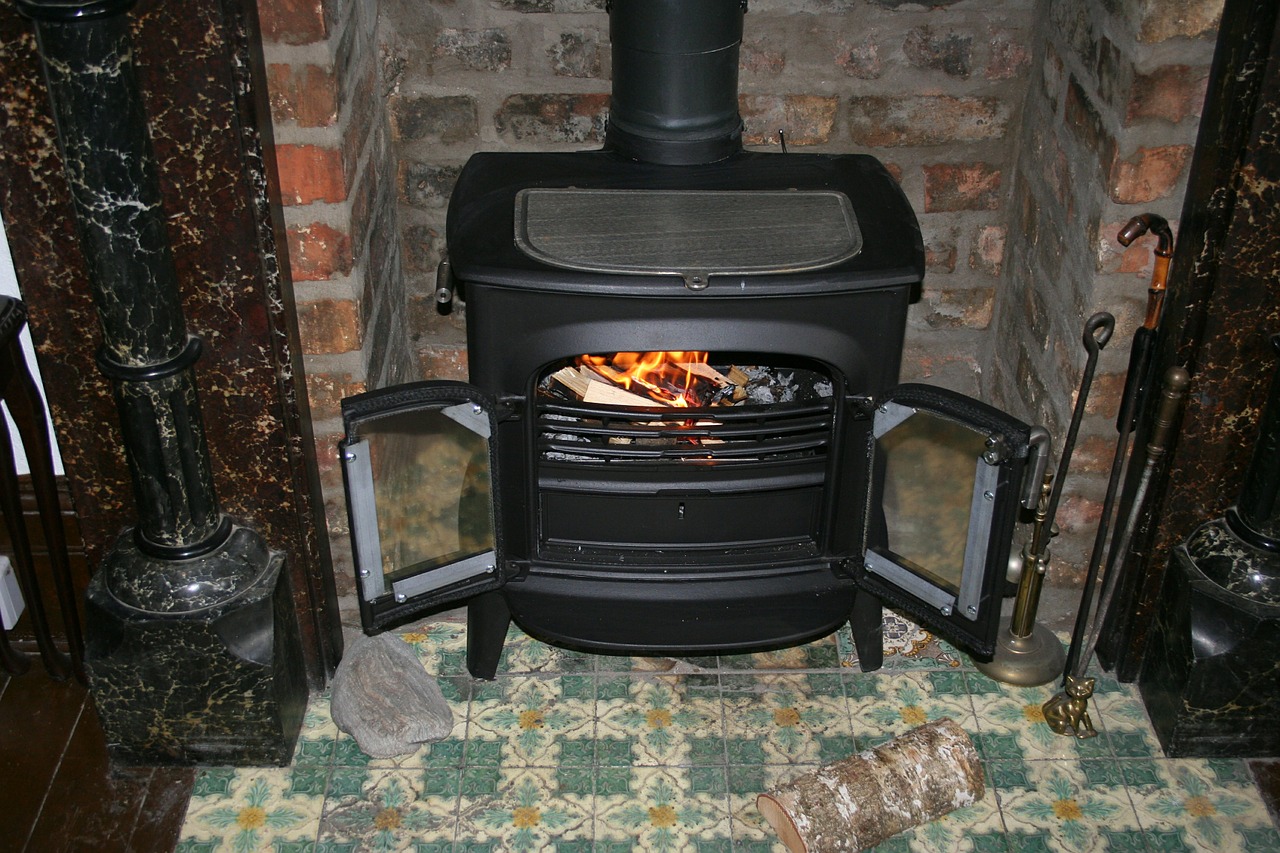
12. Light Test Fire
At this pointedness , your woodwind instrument burning stove facility is done . It ’s clip to light the exam fervor to see if you have a right draw . We dismount a modest piece of paper and rank it into the firebox .
We watched to see if the fire withdraw towards the chimney which it did in our case . If you do n’t have a proper draw on your flaming , it would be a good time to revisit each of the pace to verify they were do properly , and everything is put together aright .
If it is , call a master because you do n’t want to use the stove if it does n’t imbibe well .
A woods kitchen stove is such a delicacy , as not only does itprovide heating plant , but you’re able to fix on it too and produce many cherishedfamily memoriesaround it during the deepest darkest winter times .
I go for this guidebook will help with your Mrs. Henry Wood cauterise stove installment and that you may savor the fondness and memories it will create .
Was this article helpful?
What went wrong?
This clause hold faulty information
This article does not have the information I am looking for
How can we improve it?
We appreciate your helpful feedback!
Your answer will be used to ameliorate our content . The more feedback you give us , the well our pages can be .
