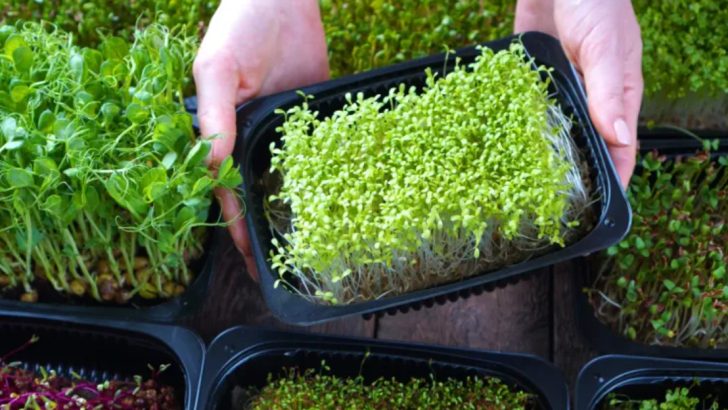
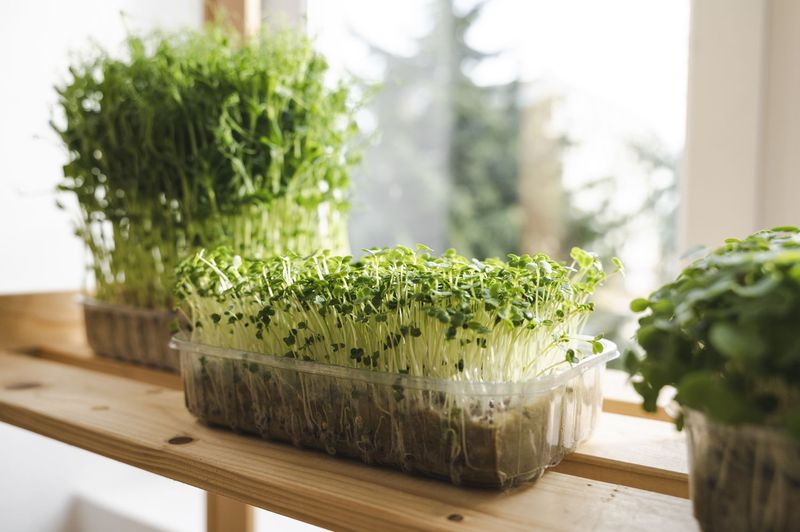
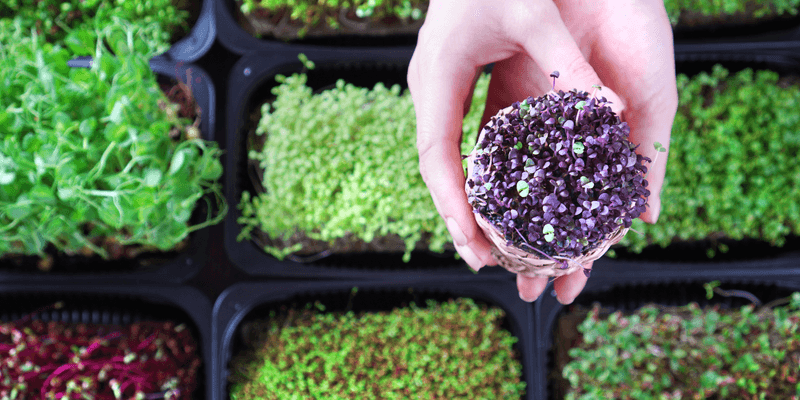
Microgreens are tiny , nutrient - heavy plants packed with flavour and wellness benefit . Theseyoung , eatable plant — such asarugula , radish , and sunflower — are reap just after the first true folio have developed , name them an fantabulous reservoir ofvitamins , minerals , and antioxidants .
get microgreens at household is a simple , cost - effectual way to tot aboost of nutritionto your meal . They want minimal space , lighter , and wish , make them idealistic forapartments , kitchens , or small urban quad . With just a few supplies — seed , trays , soil , and piss — you’re able to easily growfresh , flavourous microgreensin as little as 7 - 14 days .
find out how tostart your own microgreen garden , and love thefreshest , most alimental greensright at your fingertips for a levelheaded life-style !
Choosing the Right Seeds
Not all seeds are created equal when it comes to microgreens . Opt for seeds labeled specifically for microgreens to ensure a successful harvest home . These seeds are often untreated and choose for their smack and texture . democratic choices include Raphanus sativus , broccoli , and helianthus . To get start , consider your gustatory perception orientation and nutritional needs . With a variety of seed , you may try out with different flavors and nutrient profiles , making each batch of microgreens unequalled . A little research goes a long way in matching your culinary desire with the perfect seed .
Preparing the Growing Medium
The fundament of any successful microgreen garden is a well - prepared maturate spiritualist . Most enthusiast prefer using potting grease , but alternatives like coconut coir or peat moss also work well . Ensure that your medium is unaffixed , clean , and keep back moisture efficiently . Fill a shallow tray with about an inch of your choose spiritualist and gently smooth the surface . This create an ideal environment for seed germination . By take the clip to properly put up your growing sensitive , you ’re set the level for a freehanded harvest of microgreens .
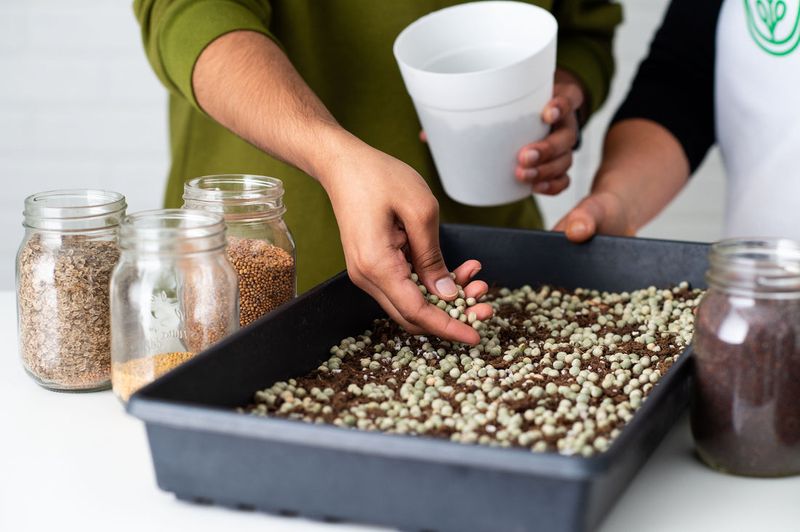
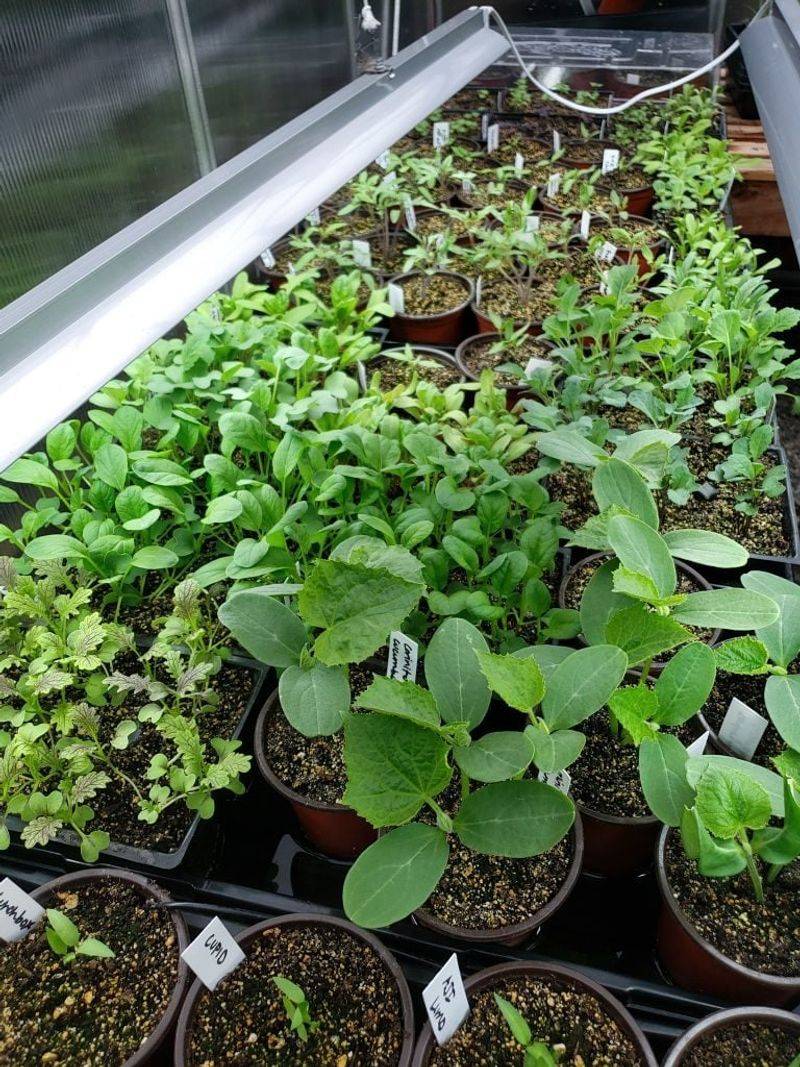
Planting the Seeds
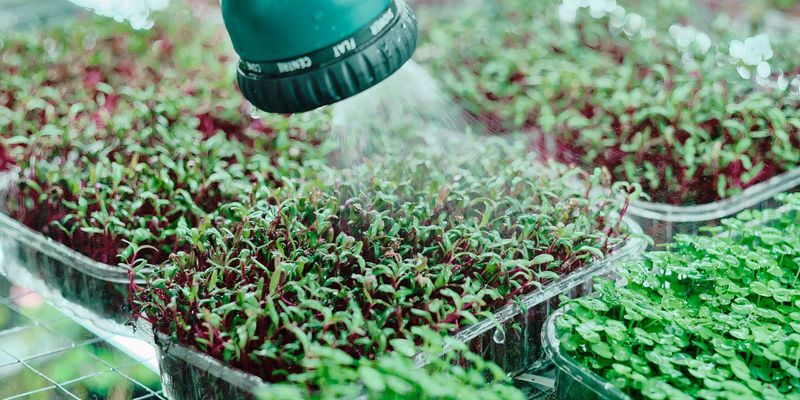
Watering Techniques
tearing microgreens is a delicate balance . Too much water can lead to mould , while too little can dry out them out . Using a nebuliser bottle , mist the seeds daily to keep them moist but not saturate . Adjust the absolute frequency base on your home ’s humidity and temperature . ascertain regularly for signs of overwatering such as soil sogginess or mold . right lacrimation techniques ensure your microgreens receive the hydration they need without drowning them . Mastering this balance is crucial to nurturing healthy , vivacious Green River .
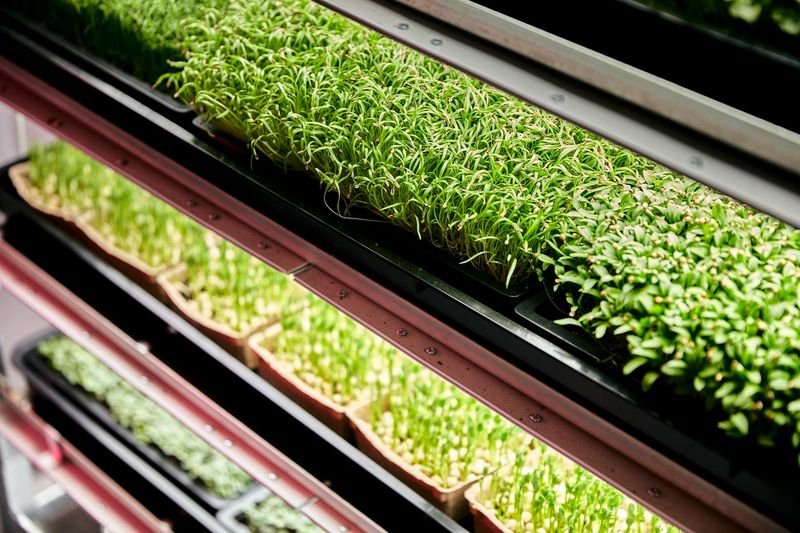
Providing Adequate Light
Light is a crucial component for palmy microgreens . Ideally , come out them on a gay windowsill where they can soak up lifelike lighting for at least six hours a day . If raw light is scarce , consider using grow lights to supplement . insure that the light reference is evenly distribute across all tray to forbid uneven growth . Proper ignition not only enhances growth but also boost the nutritionary substance of your microgreens , making them a powerhouse addition to your dieting .
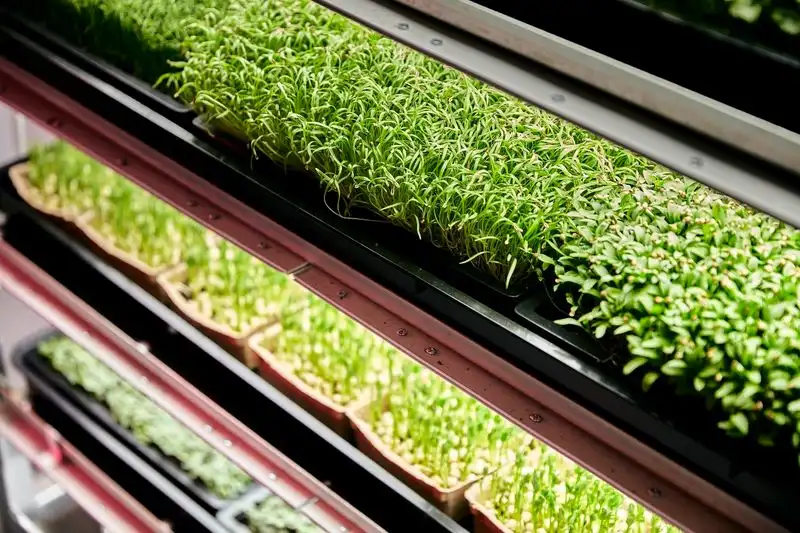
Maintaining Optimal Temperature
Microgreens flourish in restrained temperatures , ideally between 60 ° F and 70 ° F . Keeping a static environment encourage goodish emergence . habituate a thermometer to monitor the temperature around your grow area . Avoid placing trays near drafts or heat source that might cause fluctuations . By maintaining an optimal temperature , you create a consistent , nurturing surroundings that advertize racy microgreen increase , ensuring they develop vibrant color and flavour .
Thinning the Seedlings
As microgreens start to sprout , they may need cutting to ensure proper space for each seedling . Use pocket-size scissors to mildly remove overcrowded industrial plant , let the strongest to continue fly high . Thinning prevents competition for nutrients and light , aid the remaining seedlings to develop healthily . This careful routine supports good air circulation and reduces the endangerment of mold , finally go to a more successful microgreen harvest .
Protecting from Pests
keep microgreens secure from pests , like gnat or aphid , necessitate wakefulness . Regularly scrutinize your plant for sign of the zodiac of infestation . If you notice any pest , consider using natural deterrents such as neem crude oil or insecticidal soap . Maintaining cleanliness in your growing area can also prevent pest problems before they start . protect your microgreens ensures they remain healthy and untouched , keep both their quality and nutritional value .
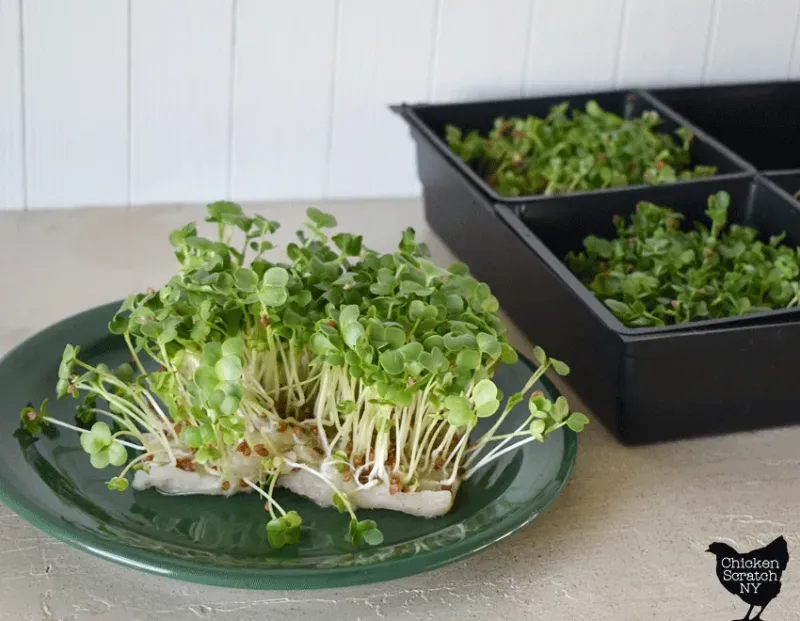
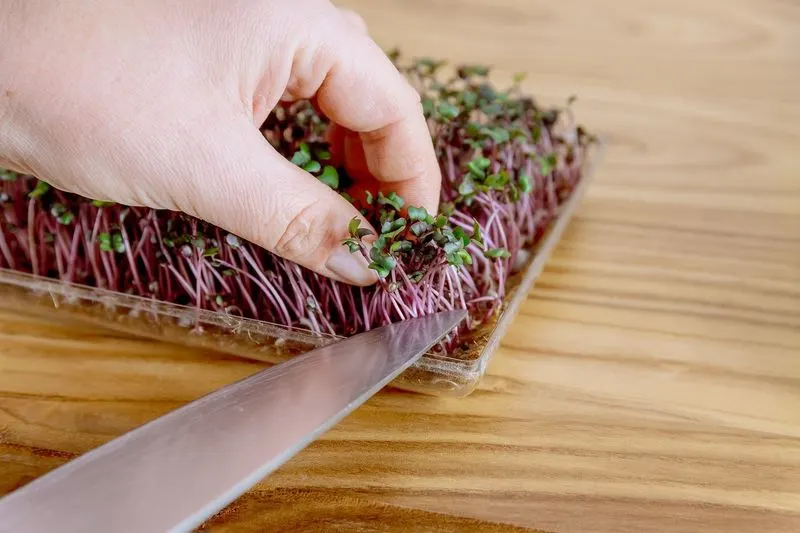
Harvesting at the Right Time
Harvesting microgreens is all about timing . broadly , they ’re ready to be cut when the first stage set of true leave appear , commonly about two week after found . Use clean scissors to trim the greens just above the soil strain . This ensures you capture their peak feel and nutritionary content . Freshly harvest microgreens can elevate salad , sandwiches , and more , offering both taste perception and health benefits .
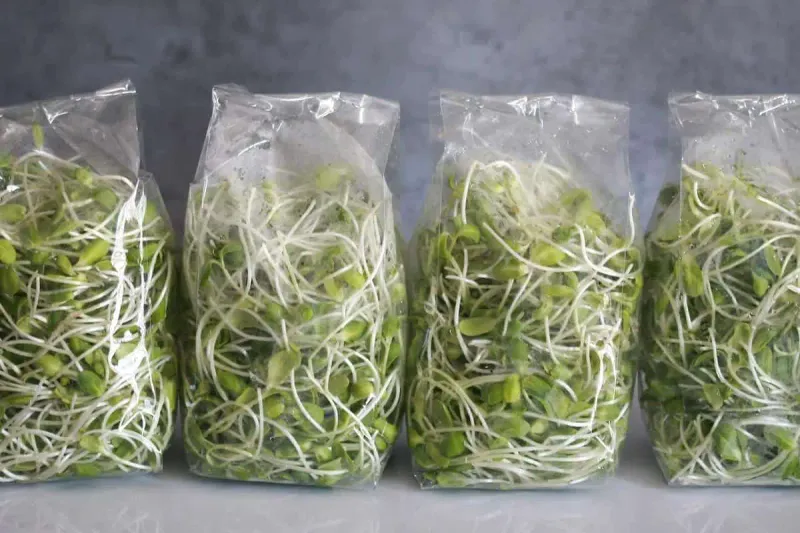
Storing Your Harvest
Once harvested , right storage ensures your microgreens stay fresh and tasty . Place them in an airtight container and storage in the refrigerator . This keeps them crisp and extends their shelf life . Avoid washing them before storing as added wet can take to wilting . By succeed these storage baksheesh , you ’ll bask the vibrant taste of home - grown microgreens , extending their benefit well after harvest .
© Collective Joy Farm

© Chicken Scratch NY
© Simply Seed
© Backyard Boss

© Martha Stewart

© Microgreens World
© Homestead and Chill

© joe gardener


© Microgreens World
© Microgreens Corner
