If you buy an item via link on this page , we may earn a deputation . Our editorial content is not influenced by commissions . Read the full disclosure .
We pulled into the recollective dusty driveway . You could n’t see the home from the route . It was surprising to see this pocket-size , wooden home sit around at the metrical foot of a gorgeous mountain .
The front yard was flat . The backyard had rolling hills , have it perfect pasture for our goats . It had a luscious orchard in the side yard and two vineyards .

My hubby and I looked at each other , and we bang this would be ournext place . The farm was perfect , but we also saw some imperfectness .
However , we wait at them as an chance to remodel and put our bell ringer on the property . The first mark which needed to be made was a well cover .
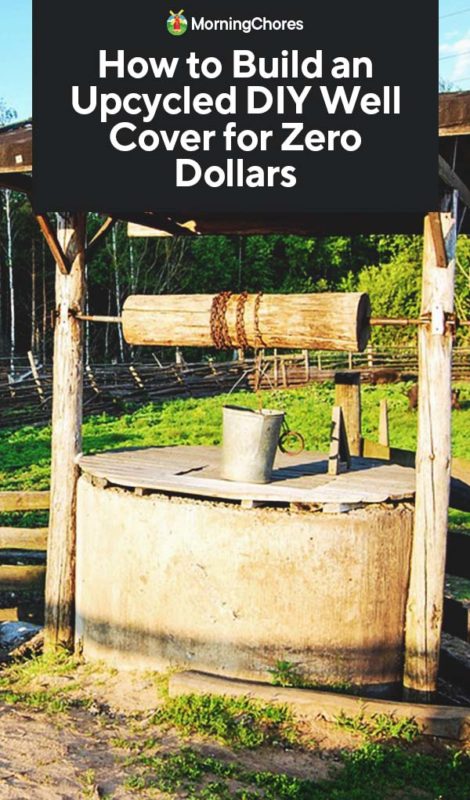
We made a singular DIY well cover up which cost us no money at all . I ’m going to share with you how we upcycled an old porch into a well cover which looks countrified and wizardly . Here ’s how we run short about make this founding :
notice : I did n’t give specific wood size because we used a hodgepodge of wood we had leave from pull down an old deck on the property . If you have old piece of wood pay heed around your holding , put them to use . Any sizes should do for this project .
1. Build the First Frame
The first frame you ’re going to build is the bod around the bottom of the well . 2×4 ’s would work well for this labor .
Be certain to thin each firearm of forest to the same size . The estimation is to build a square at each side of the well for a total of four sides .
Therefore , you ’ll need four pieces of forest for each side of the well and a amount of 16 pieces of wood to work up the entire bod around the bottom of the well .
This should package in the total well . By connecting each side of the frame together , it should stabilize . You may have to dig out certain pieces of ground to level the build to keep it from being cockeyed or wobbly .
you could use a hammer and nail to come out each opus of the frame together . If you have a nail gun , this would be another effective way of establish the frame .
2. Add the Walls
Once the shape of your well is in seat , you demand side of meat . Our home originally had only a set of steps to embark the menage . There was no porch .
Well , we live in the S , wherefront porchesare a big deal . Not to mention , with mountain views surrounding the domicile , how could you not have a place tosit outsideto take them all in ?
However , we did n’t toss the Ellen Price Wood from the old steps and the small porch area they were attach too . We put those boards to influence .
Again , we cut the decking control panel to the same sizing and attached them vertically to the frame of reference of the well . They will go all the way around the well to amply introduce it .
I ’m not giving specific size because depending upon how high you build up your well physical body , will determine how long the boards should be .
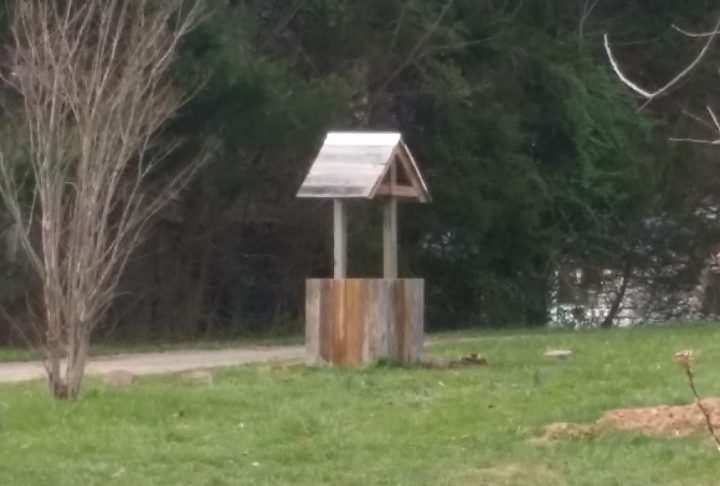
Some people may prefer a little well cover because of the amount of quad . Our well is sitting out in the open which led us to create a DIY well cover which was the size of it of an literal well .
3. Put in the Posts
When the well is fully enwrap , it ’s time to add the supports for the cap of the well house . We had two 6×6 posts which were left over from where we built our front pack of cards .
These work beautifully as a reinforcement for our well cover roof . My married man drove them into the ground and attached them with nails to the human body of the well cover .
Once the posts were in piazza , he used aSawzallto reduce them to the height we ’d like the top of the roof to be .
Do n’t contract them to where the bottom of the roof should fall . The place should be as tall as the mellow part of the cap because the cap skeletal system will be built around the supporting post .
4. Build the Second Frame
When the posts have been cut to the correct sizing , this will vary depending upon how tall you ’d like your well to be , begin building the inning for the roof .
Any smaller pieces of Ellen Price Wood will work for this chore . You ’ll be making two rectangles ( one for each side of the posts ) to substantiate the ceiling .
Attach the roof frame with a pounding and nail or expend a nail shooter to build the structure . You will involve four pieces of wood per rectangular support .
When your rectangle are make , bond a 2×4 ( cut to the length of the slope you ’d like for your cap ) and connect them horizontally to the support posts .
This is what will hold your roof at an angle . When the horizontal supports are there , begin attaching each rectangle at a rake to the perpendicular reenforcement and the horizontal supports .
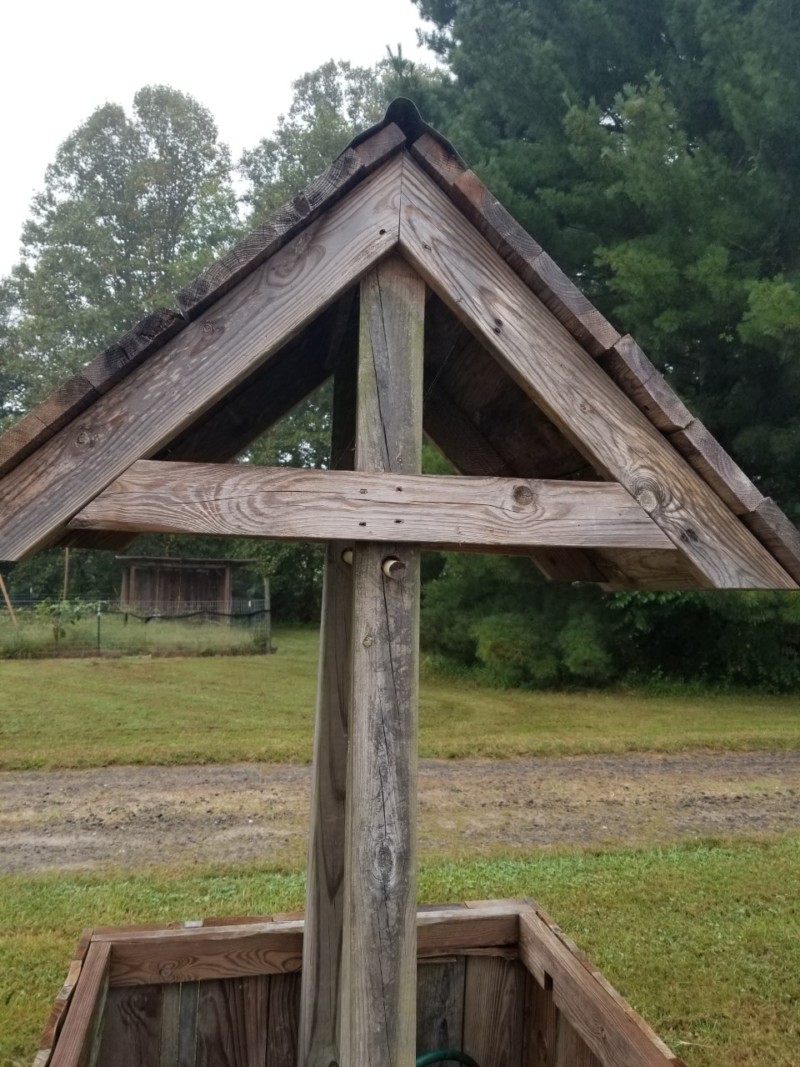
5. Put on the Roof
Once your roof support are in place , contribute small-scale pieces of Mrs. Henry Wood to make the cap . This is a capital way to utilize any remaining scrap wood you may have .
We localise our roof wood on the supporting horizontally . You ’ll notice there ’s still a gap between the two roof financial backing at the top .
Do n’t interest about this gap because you ’re break to take care of it in the next step . The full point of this footprint is to ensure your DIY well is to the full covered .
6. Add the Flashing
After your roof is in station , place the firearm of flashing over the gap at the top of the roof . It should shut down over and be secured with nail .
The flash will make indisputable no surplus water become in through the summit of the ceiling . This is important to protect your well .
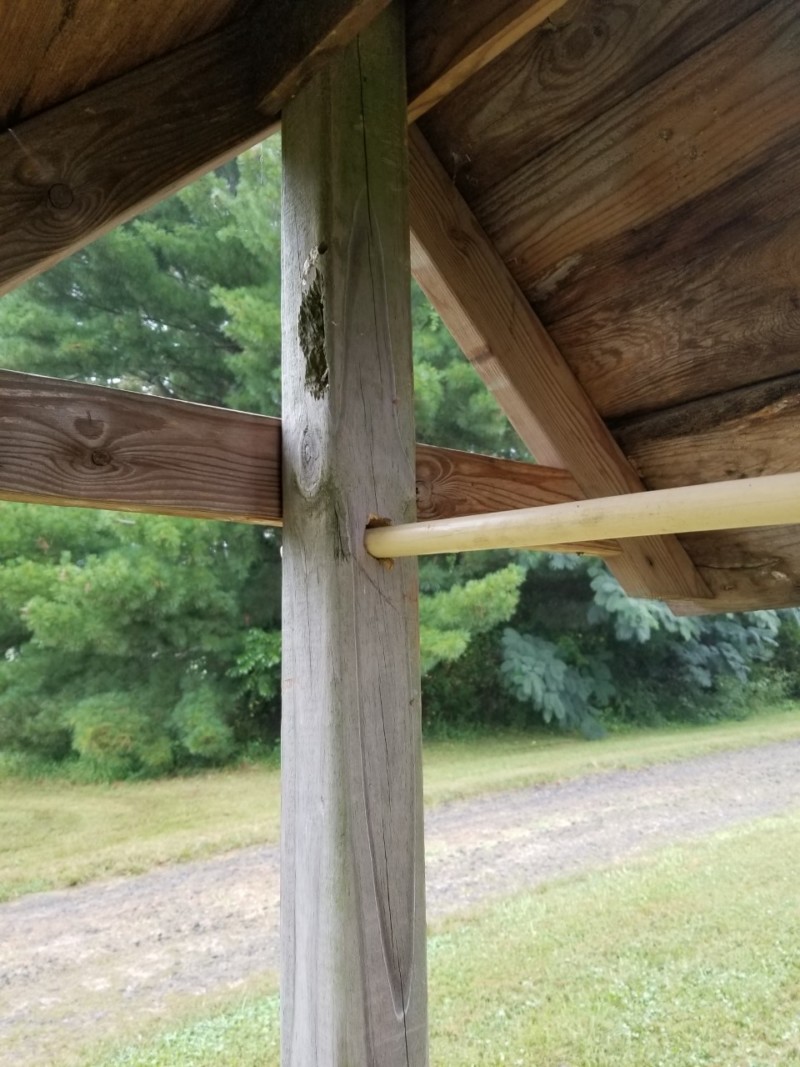
7. Add the Dowel Rod
This step is optional . Everything we do around our home I like for it to look nice . I looked at this well extend as an chance to add more charm to our holding .
My husband drilled a hole in each support beam where a dowel rod could fit through each muddle . The purpose of the dowel rod is to be able to hang ahanging basketfrom the rod .
This is an easy and cheap way to add a few aesthetics to your home plate .
8. Apply Heat Tape (Optional)
The terminal step of finish this well hide is to employ heat tape measure to your well pass over over the winter month . Our well will freeze when the weather becomes insensate enough .
For this reason , we wrap the exposed tube with heat tape recording to further protect the pipes which run from the well to the house from freeze .
This helps assure we have running H2O all wintertime long no matter how low the temperature discharge .
Hopefully , this will inspire you to use any combat wood you may have on handwriting or able to find , to produce a clean fashion of covering your well .
I ’ve enjoyed my DIY well cover , and I ’m gallant we were capable to upcycle and create something to add a little more mantrap to the attribute for no money out of our scoop .
Was this article helpful?
What went wrong?
This clause bear incorrect information
This article does not have the info I am attend for
How can we improve it?
We appreciate your helpful feedback!
Your resolution will be used to meliorate our content . The more feedback you give us , the better our pages can be .
