If you buy an item via links on this page , we may earn a commission . Our editorial content is not influenced by commissions . take the full disclosure .
This summertime we moved to a new homestead . It had the estate , the small home , and a service department for store .
But it did not have a b . If you have a homestead , you have a go at it how important it is to have a barn .
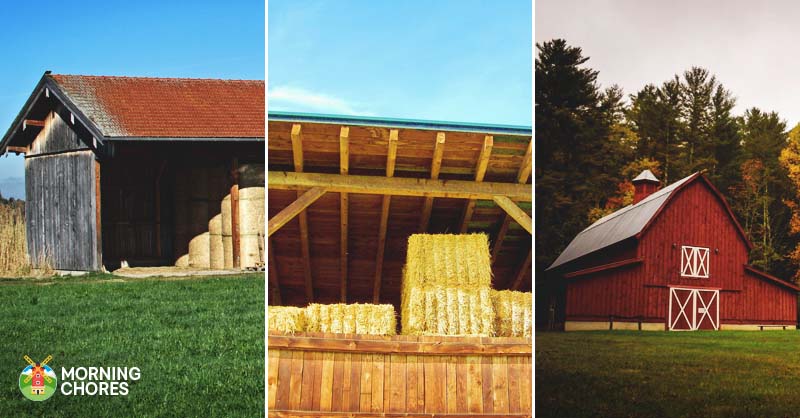
We obviouslyneededa barn!
However , we did n’t have a gross ton of money to induct in build this barn .
So we looked through thesepole barn ideas , found one that would work , and figured out how to make it cost efficient , efficient to ramp up , and functional .
How to Build a Pole Barn
Here is how we did it :
What We Wanted in a Pole Barn
I will reiterate some of these statements in whole step 1 because it is important to know what you want in a celestial pole barn . This is not a pocket-size investment funds , and it should be something that you use on a regular basis .
Not to mention , it will be on your property permanently .
So you desire it to be functional and to look like you want it to as well . Here is what we wanted in our perch barn :
We obviouslyneededa barn!
The first anteriority in our pole b was to make it be effective . We had just purchase a novel homestead , there were raft to be done , and only so much money to go around for each labor .
So I need a barn that would mold for our needs but not cost a luck . Which led us to set a $ 600 budget . We matt-up we could progress this pole barn for that amount of money and have what we need too .
The next whole tone was to select a barn that we could build speedily . As I mentioned , we are on a fresh homestead . Every day is filled with wads of projects that call for to materialise in order for our homestead to serve as it should .

We obviouslyneededa barn!
So we feel with this pole barn design we could build it quickly . Turns out my husband and our boys were able to build it in an afternoon . It take on about 4 hours total . That even included a misstep to the local hardware store to buy the roofing stuff that we realize we had forget . ( Oops ! )
We obviouslyneededa barn !
We needed a pole b that would function . Our perch b is used to salt away our tractor , lawn lawn mower , hay , and bee equipment .
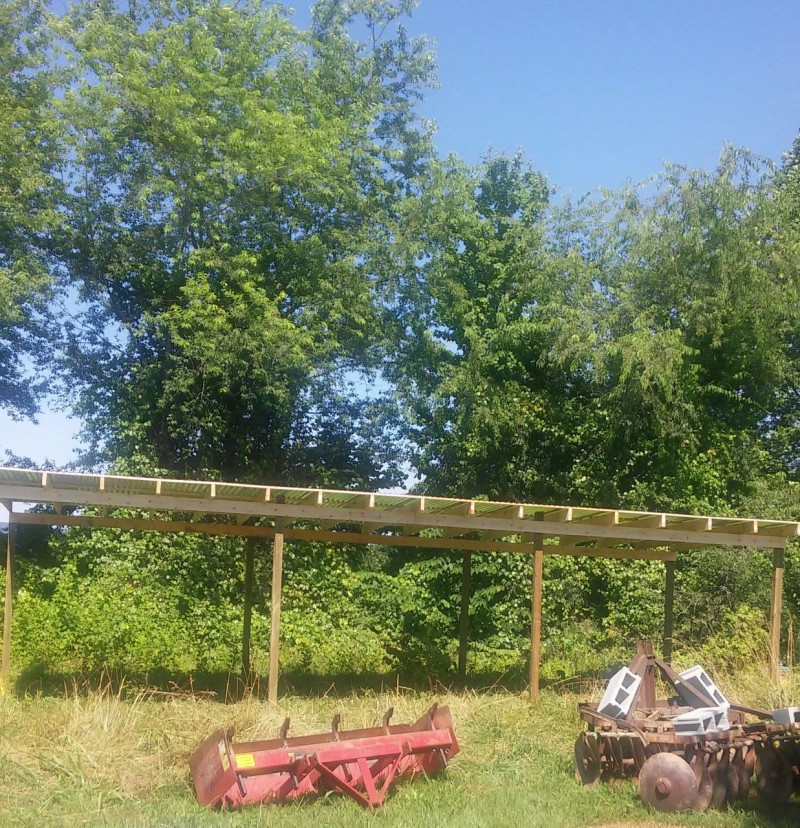
Our New Pole Barn
But I also expend it during the wintertime to store my lawn furniture as well .
As you could recite , I needed a with child barn to stack away all of this equipment that we do n’t have elbow room to store in our garage .
So when we built this barn it had to be a adequate size . Our barn ended up being a 12×32 which is rich amount of elbow room for what we require .

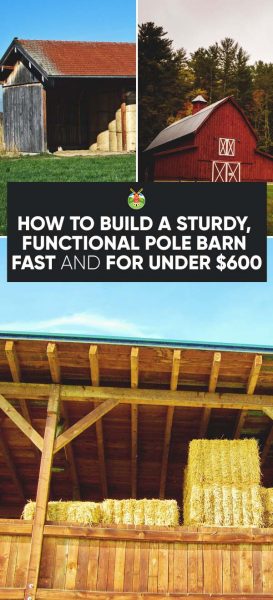
The underside of the roof when it’s completed.
My net qualification is that I needed a barn that would last , attend good , and also remain goodish . This pole barn should last for years to total since we used press treated Sir Henry Joseph Wood and metal roofing to make out the labor .
But it also looks good . It is a simple design that jibe decently into the visual aspect of the rest of our homestead . We work up anything we can from wood because it is price effective and wood is easygoing to work with .
at long last , I needed a barn that would remain tidy in coming into court . I learned duringour kitchen remodel , that openness commonly equates to tidiness because nothing can shroud . If you are like me and dislike clutter , then just leave everything out in the open because it forces you to keep everything orderly and mastermind .
Construction
Now that you experience what we were looking for in our pole barn , you should quit and remember about what you need in your pole barn as well .
Also , ask yourself about your carpentry science level . If you ’ve never built a larger projection please ask for help from someone who has . The last thing you desire to do is take on a big project and use larger tools than you are not habitual to and finish up hurt .
So please use ripe judgment before choose on this project . After you ’ve regard all of these item , you should be quick to begin your build .
Our New Pole Barn
Before you start to build your barn , you ’ll need to find the arrant placement . You involve an domain large enough to hold your barn .
Also , you ’d opt for it to be matte so it hold it much easier to build and keep things level .
However , you ’ll also demand your b in a location that is commodious . You do n’t require to have to constantly walk back and forth to get affair from the b if you could help it .
For us , our perfect placement was located near our grass , garden , and in good order behind our service department . That way the barn would be convenient , but not a front and center stack .
Yet , we had flat nation and plenty of room to store our belongings .
So once we located the complete berth for our barn , we begin by using fencing posts to scar off the exact location of the b . This helps staggeringly so you’re able to evaluate before you startle to verify everything is unwavering , the way you want it , and that you are sure you care the location . It definitely made the caper much promiscuous .
Once you have your barn walked off , cross off , measured , and you are sure that is where you want it , then you are ready to begin the construction process .
A pole barn is just what it fathom like . It is a b that is held up by a few poles . It has a roof on it and can have walls surrounding it if you desire .
Personally , I opt my pole barn to be opened so it hold open it from becoming cluttered . It is hard for thing to get cluttered when you’re able to constantly see what is move on .
However , if you are plan on restrain items in there that you really do n’t want to see , or if you are planning on turn it into a shelter for your animals , then you ’ll need to add wall to it .
So we started the process by creating our poles . We used the 8 - 4×4 ’s and placed them into the land . You ’ll need one at each recession , and then a few in the middle to keep everything unchanging .
You ’ll set them in the ground either by using stake hole power shovel , an auger , or using a spadeful to dig a maw . If your pickle is loose , then you ’ll require to employ concrete to hold the Post in the ground . We used an wimble so the place gibe in the yap jolly perfectly and snug .
When this business is double-dyed , you are ready to move on .
In this step , you ’ll need to settle how gamy you require the cap . We purchased the materials with the purpose of not having to cut anything because it would make the job go so much quicker .
So we planned our roof to be very high-pitched . If you need a tall pole barn , then you ’ll do this too . If you ’d like it a small little , then you ’ll require to set off this step a little lower .
Once you ’ve decide how in high spirits you ’d like your roof to be , then you ’ll identify the 2x6x16 ’s at whatever height you decided on . You will need to place 2 of them in the front and 2 of them in the back . You will then use the 2x6x8 ’s to scab the part of wood together .
Now that this is complete , you are quick for the next measure .
In this step , you are designing the financial support for the roof . You ’ll necessitate your 2x6x12 ’s . You place them across the stringers about 2 feet apart .
So as you do this , you ’ll know you are on the right track because at this point in the process you should have 4 pole sticking out of the ground .
Then you ’ll basically have a large wooden rectangle at the top of the Post .
After you complete this step , you ’ll have your smaller piece of forest connecting each side of the wooden rectangle .
Once you ’ve got all of this in position , it is time to pull out the 16 musical composition of the furring strip strip . You ’ll want to lay them perpendicular to the rafters . The whole point of this step is to give you something to in reality screw the roofing to .
So once you ’ve make out this , then you are ready to move on to the final step of building your pole b .
The undersurface of the roof when it ’s completed .
The last footmark is probably one of the well-to-do , but my least favorite . I lie with alloy roofing because it looks good , is inexpensive , and pretty well-off to fill in a project with .
But I do n’t like it because it is crisp . Please use lots of caution when work with metallic element roofing , especially when you are placing it over your mind . This poppycock is crisp , and you do not desire to disregard your hands , arms , or even sorry , your neck opening .
Remember to keep base hit first . Pay close attention to what you are doing the entire time you are work with this roofing material , and strain to bear gloves .
Now that the safety alerting is out there , let ’s finish this project . You ’ll ask to carefully lift the metal up through the rafters .
Then you ’ll lay it flat on the rafters . Using an impact or screwdriver , you will use the roofing screws with the rubber gaskets to screw the metallic element roofing in spot .
commend to screw it to the rafter and furring strips to ensure it stays in place .
Then you ’ll pull up the next small-arm and overlap it with your last spell .
Finally , you ’ll continue this cognitive operation with overlapping the metal roofing and screwing them into station . When this is gross , you will have a beautiful pole barn .
Well , you now eff how to build up your very own pole barn on a smaller budget that should last for years to come and be functional too . Just to reiterate , we were able to complete this 12×32 celestial pole barn in about 4 hours on a budget of around $ 600 . We may have gone a little over after you include tax .
Also , we did not gain any pot anywhere . We went to our local hardware depot to purchase all of our material , and I do n’t mean we were able to purchase any items on sale .
However , we did get a discount on our roofing materials because they were dented . Since no one will be study your ceiling , do n’t be afraid to grease one’s palms some materials that are a little dinged .
Hopefully , you may save money that way as well .
But the capital thing about the design of this pole b is you could add to it any path you wish well . As mentioned before , you’re able to add up walls to it , add stalls for creature , and even add a loft if you so hope .
Was this article helpful?
What went wrong?
This article contains faulty information
This clause does not have the information I am search for
How can we improve it?
We appreciate your helpful feedback!
Your answer will be used to better our content . The more feedback you give us , the substantially our pages can be .
