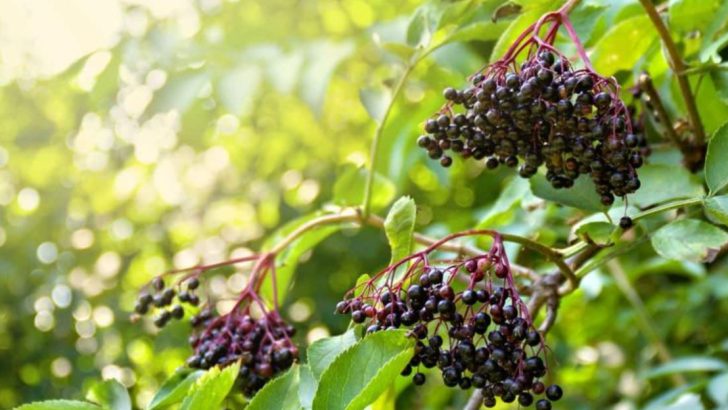
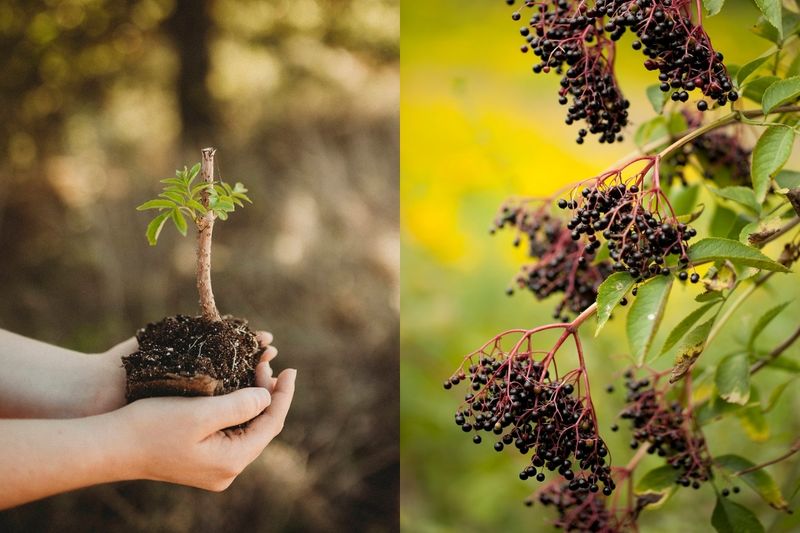
Elderberries are jimmy for theirdelicious berry , medicative properties , and pollinator - friendly blossom , and develop them from cutting is one of theeasiest and most cost - effectiveways to start your own plants . With the right dance step , you’re able to successfully root elderberry cutting and enjoy abountiful harvest for years to come .
In this article , we walk you through14 simple-minded steps to grow elderberries from cuttings . Fromchoosing the right stemstoencouraging strong root ontogenesis , these easy - to - observe tips will help you establishhealthy , thriving elderberry plantsin no prison term . If you want alow - sustainment , high - reward addition to your garden , elderberries are the utter choice !
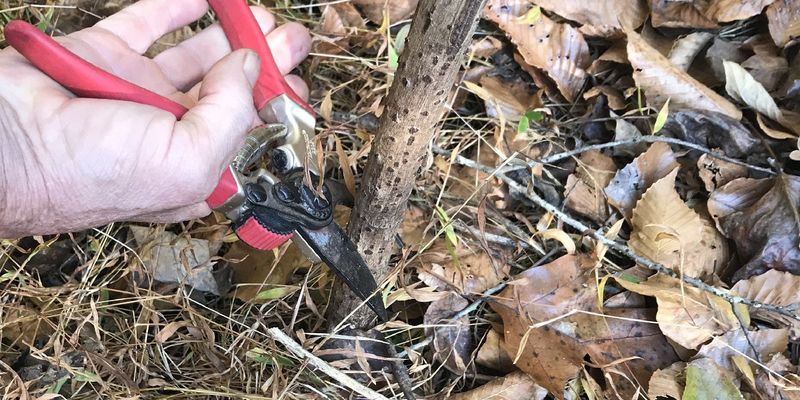
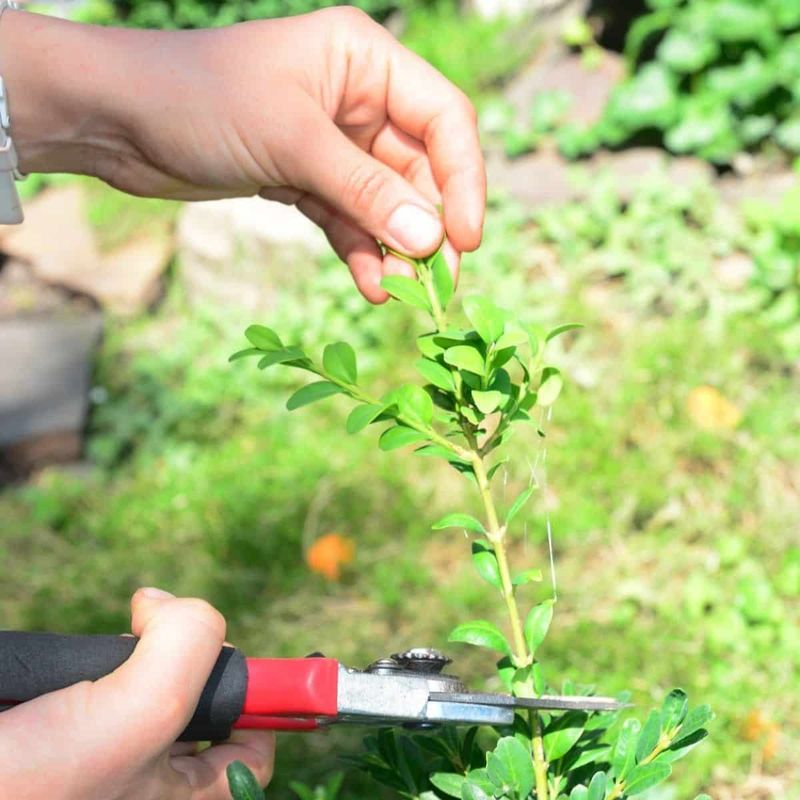
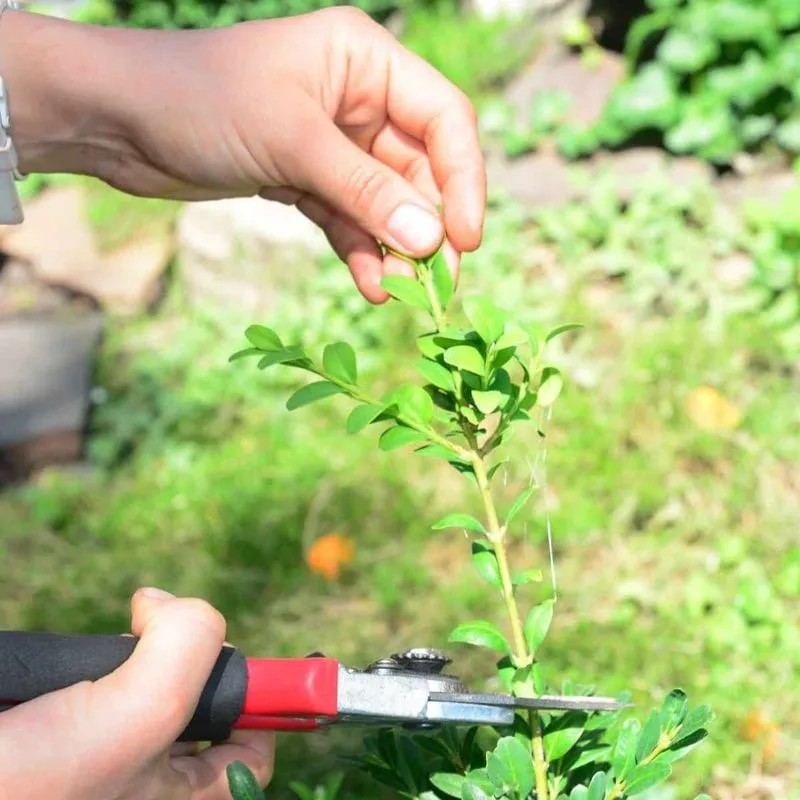
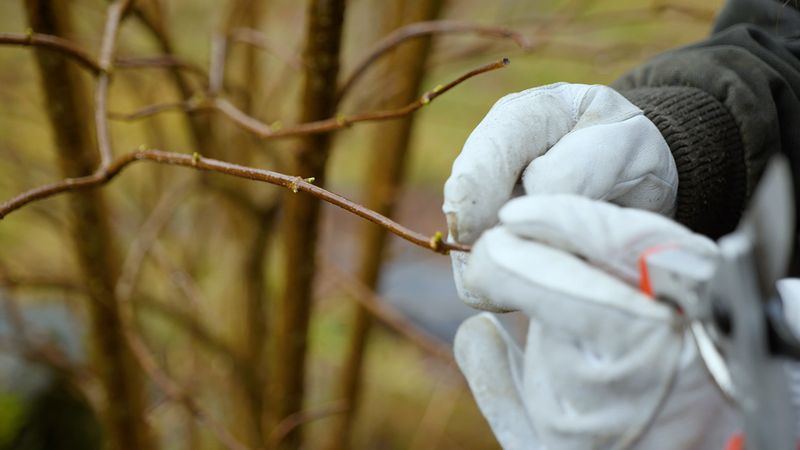
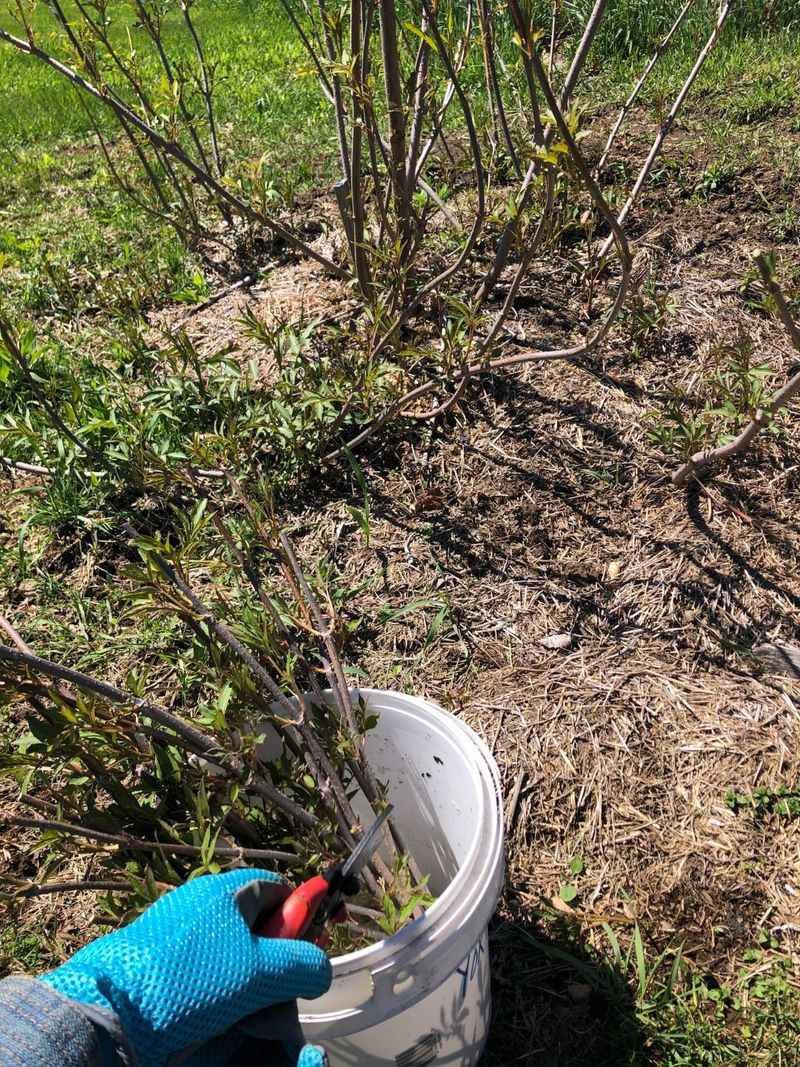
Select Healthy Cuttings
Choosing the right cuttings fructify the foundation for your elderberry journey . Look for robust , disease - free stems with seeable bud . Avoid anything that looks faint or color . sizable cuttings secure vigorous growth and a higher success rate . Keep an eye out for root word about pencil - thickness as they tend to root well . take aim for cuttings that are around 6 to 8 inches long . This duration provides enough stem to patronise new growth without overburden the cutting . A little upkeep in natural selection goes a long way in ensuring a thriving elderberry plant life .
Prepare Your Tools
formulation is fundamental to a liquid planting cognitive process . bug out by gathering essential tools : sharp , clean shears , gloves , and a bucket of water . Shears should be sterilise to foreclose any transmission in the plant tissue . A quick dip in rubbing alcoholic beverage will do the magic . boxing glove protect your hand and assure you handle cut lightly . Keep a bucket of H2O nearby to put cutting immediately after curve . This prevents them from dry out , keep back them fresh and quick for settle . Having everything ready help sustain momentum and focalize during planting .
Create the Right Environment
Elderberries flourish in the correct conditions , so make an environs tributary to growth . A small greenhouse or a sunny windowsill can process wonders . Ensure the area is quick and find indirect sunshine . coherent temperatures and humidness levels are important for root . If outdoors , protect them from harsh breaking wind with a barrier . Indoors , consider a grow light if natural light is deficient . This step ensures your cuttings are cushioned against environmental tenseness , upgrade healthier root growth and strong works ahead of time on .
Dip in Rooting Hormone
rout hormone gives your cuttings a helpful boost . Dip the bottom goal of each cutting off into the hormone gunpowder before imbed . This boost quicker root development and increases your chances of success . see the undercut close is well - coat with hormone for the best resultant role . While some elderberry salmagundi settle easily , this footstep is particularly beneficial for more unregenerate types . The rooting hormone act as a catalyst , sparking rapid growth and helping ground a robust ascendent system in a fraction of the clip it would naturally take .
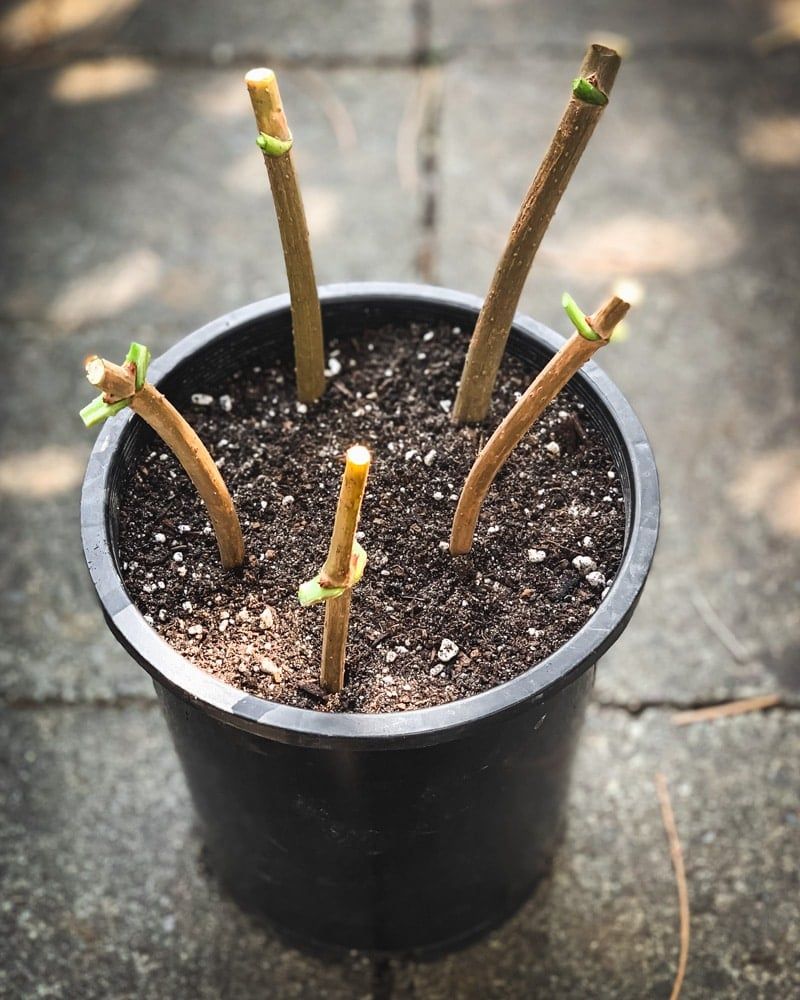
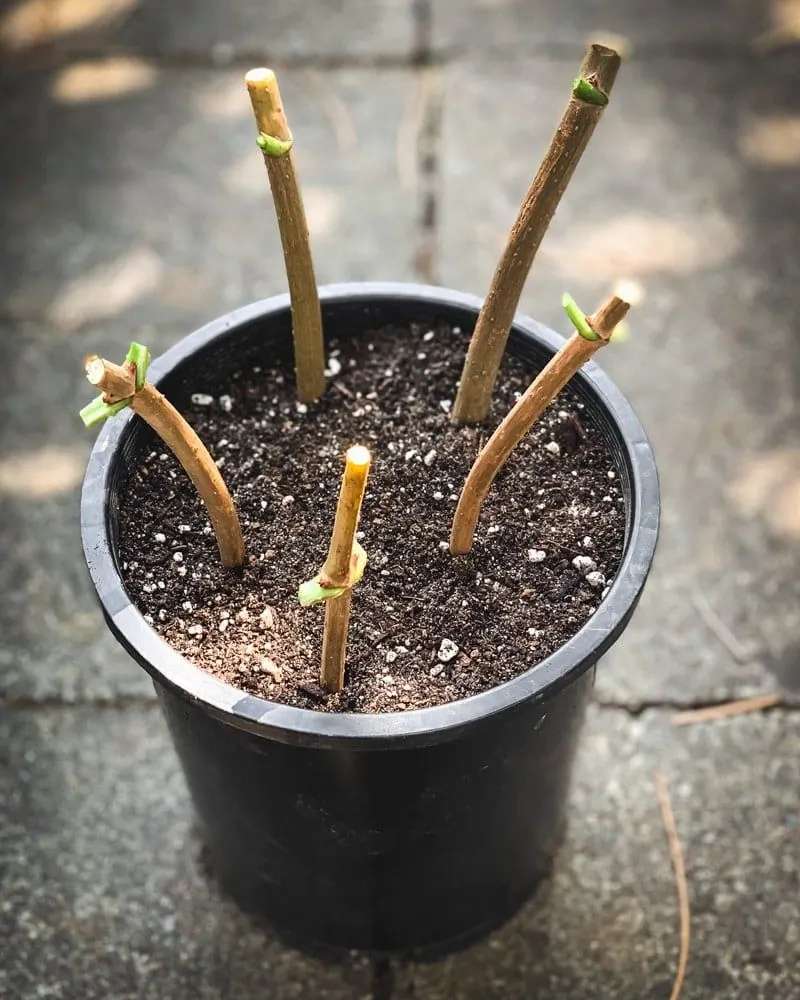
Plant in the Right Medium
The choice of growing medium gain a significant deviation in root growing . drive for a mix of ground and perlite to ensure skillful drain and aeration . The grunge should be more or less acidic to neutral , which elderberries prefer . Gently press the cuttings into the medium , ensuring the bud are above the dirt line . outer space them so each has room to grow without competition . This step supply the cuttings with the constancy they want while preventing root rot . A well - draining mass medium is substantive for thriving bourtree .
Water Wisely
Watering proficiency bring a crucial character in the achiever of your cuttings . Keep the soil moist but not waterlogged to promote healthy rootage ontogeny . Overwatering can overwhelm the cutting , while underwatering might foreclose roots from prove . think using a little lacrimation can to gently moisten the soil . Monitor the moisture floor regularly and adjust as take , peculiarly during dry trance . right tearing assure the press cutting remain hydrated and resilient , pave the elbow room for strong , vigorous plants .
Monitor Temperature and Light
Temperature and luminosity are vital cistron in rooting winner . Keep temperatures between 65 - 75 ° F for optimal growth . Use a thermometer to maintain consistence , especially in variable climate . Adequate light is equally substantive — position your thinning where they can have bright , indirect sunshine . align lighting with grow lights if necessary . This balance of temperature and easy fosters an ideal surround , belittle stress and encourage full-bodied theme and shoot development . Ensuring these stipulation help your slip transition smoothly to ego - sufficiency .
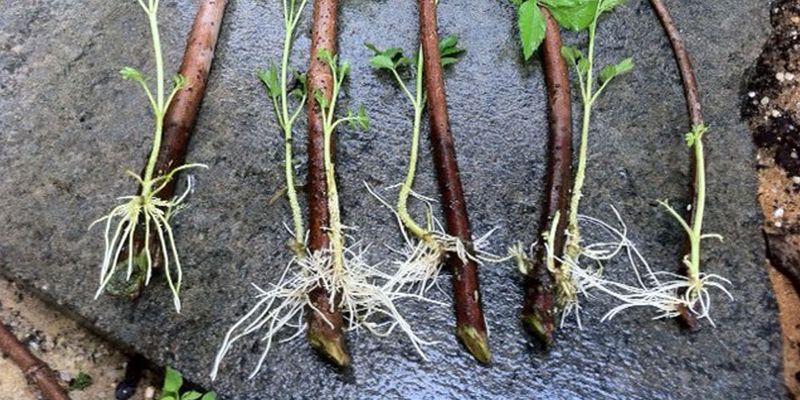
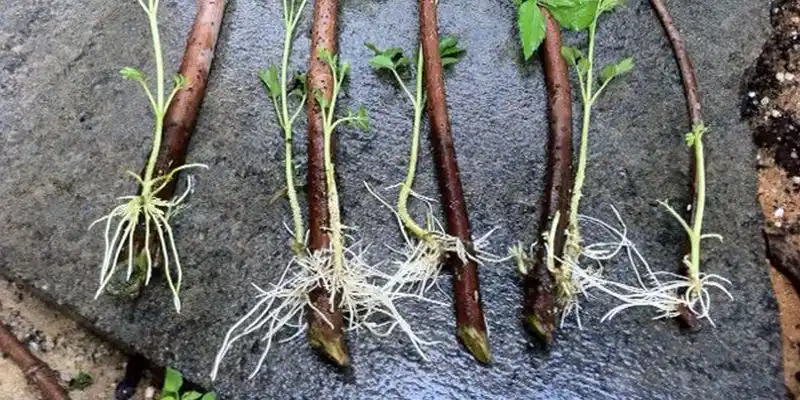
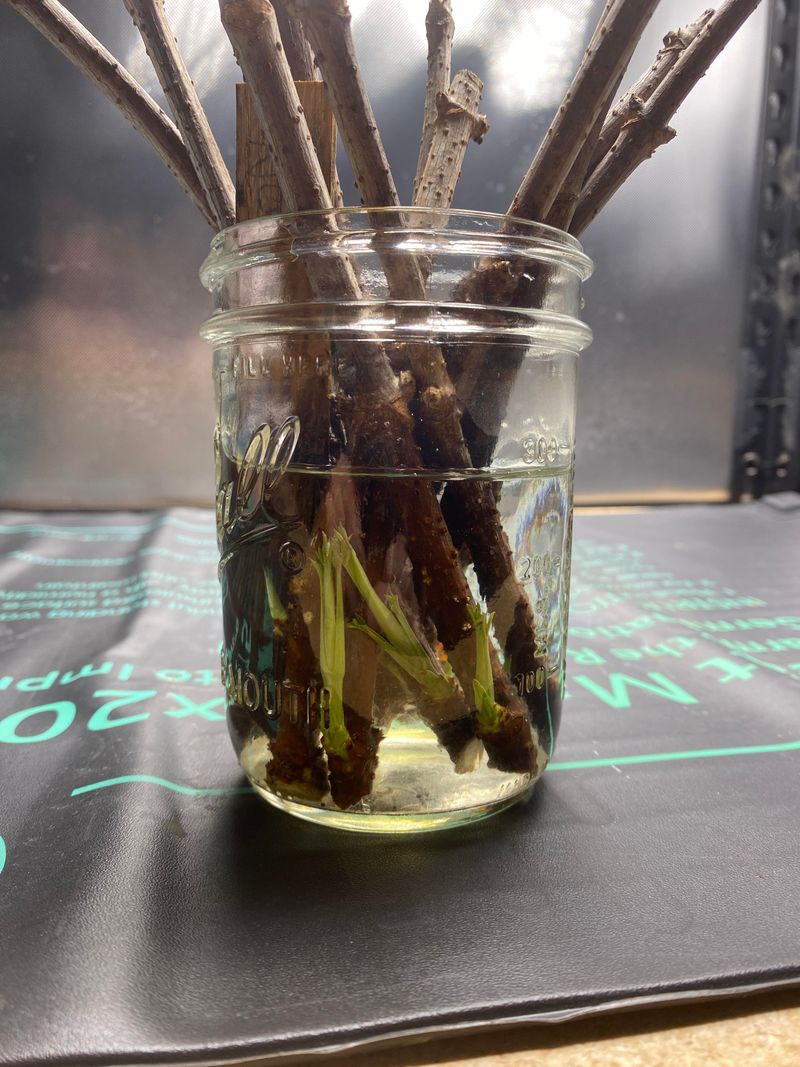
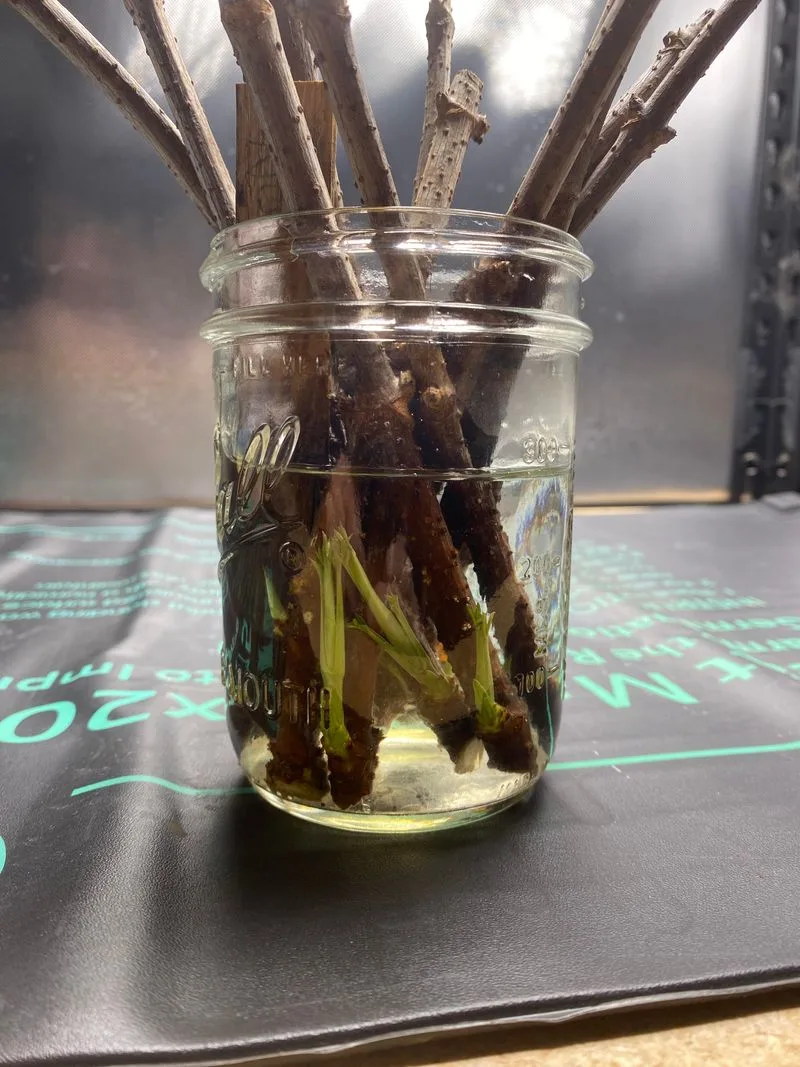
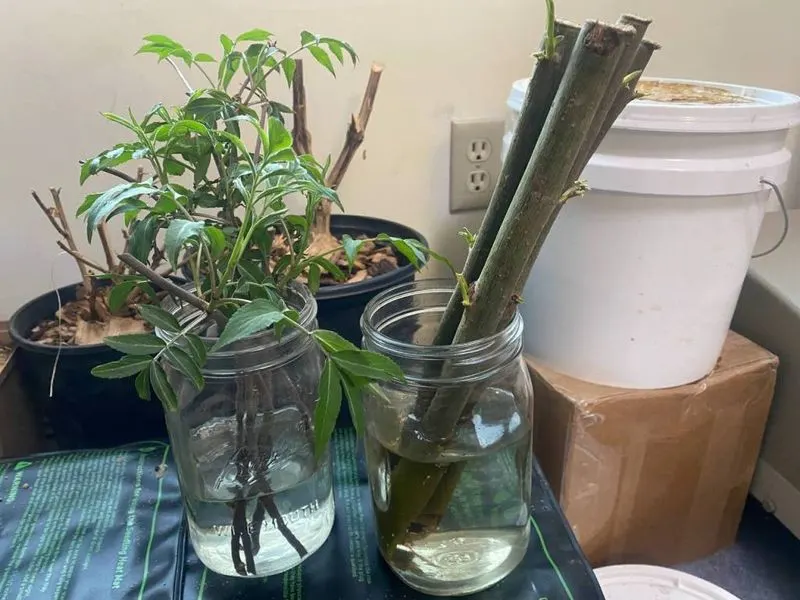
Watch for Signs of Growth
Observing your cuttings is both exciting and enlightening . Within a few weeks , look for young greenish shoots as a sign that roots are form . These indicate healthy growing and rooting success . Keep an eye out for firm , plump stems which signal that the cuttings are absorbing nutrients well . If cutting appear wilted or discolored , they may need more light or adjustment in watering . ascertain these sign closely helps you pick off care routines for the good results , ensuring each step supports the cuttings ’ transformation into thriving industrial plant .
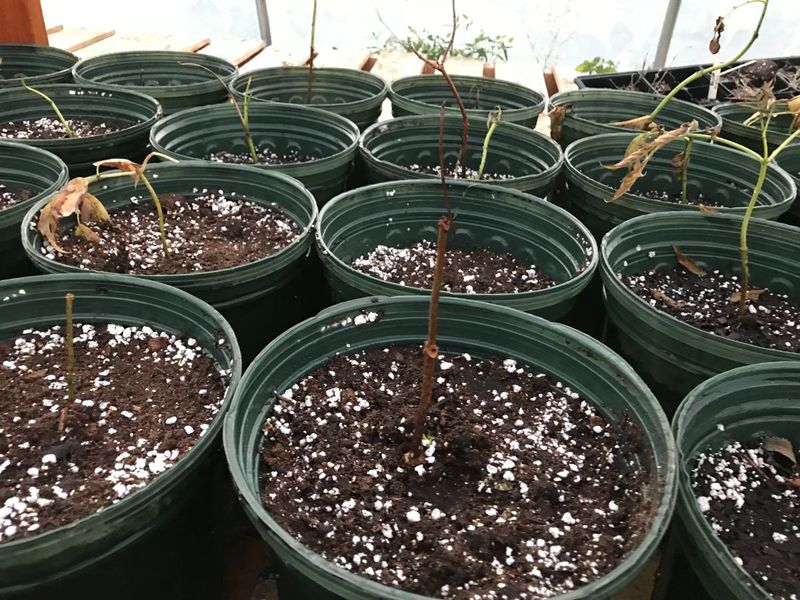
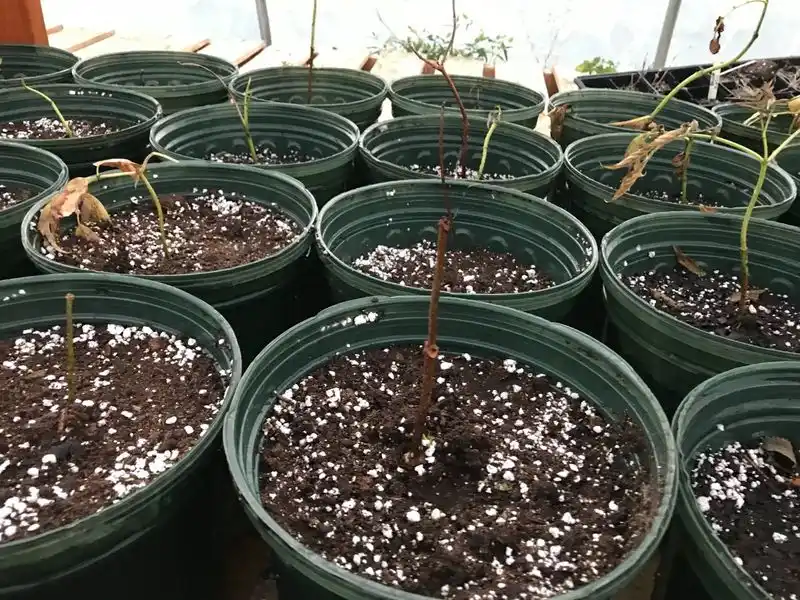
Transplant to Larger Pots
Once roots establish , it ’s time to move your elderberries to big home . softly transfer each newspaper clipping into a crowing pot to provide further development . Choose a pot with good drain to prevent root bunk . Fill it with a nutrient - rich , well - drain dirt mix to support continued growth . Handle the cuttings with forethought to avoid damage the fragile root systems . This transition provides the space necessary for root word to expand , allowing the plants to thrive . Proper care during this microscope stage position the foundation for healthy , ripen elderberry industrial plant .
Prepare for Outdoor Planting
As cuttings senesce , acclimatise them to outdoor conditions is crucial . Gradually introduce them to their young surroundings over a week or two . Start by place them outside for a few hours each day , increasing the time gradually . This process , known as season off , helps cuttings conform to sunshine , temperature , and wind . Check grime conditions alfresco — elderberries thrive in well - drain , slimly acid to indifferent dirt . Preparing them for outdoor liveliness ensures a smoother transition , decoct jounce and bolstering their resilience against environmental changes .
Planting in the Garden
The ultimate goal is to establish your elderberries in the garden . Choose a location with full sun to partial shade , secure well - drain stain . outer space plants about 6 feet aside to allow for ripe maturation . cautiously transfer your plants from pots to the background , making trusted roots are spread out in the planting hole . Backfill with soil and water thoroughly to settle them in . This final step in the planting summons integrate them into your garden , allowing them to grow strong and finally bring on bountiful , delightful berries for your use .
Regular Maintenance
Ongoing care maintain elderberries thriving . Regularly water , especially during ironic full point , to maintain soil moisture . Pruning is substantive — get rid of dead wood and human body plants to meliorate air circulation and sunlight exposure . Fertilize per annum with a balanced fertiliser to boost vigorous growth . Watch for pest or diseases , come up to any issues promptly . conserve a clean-living garden bed around the plants minimizes contest for nutrient . Consistent upkeep ensures your bourtree stay healthy and productive , reward you with a plentiful harvest home each year .
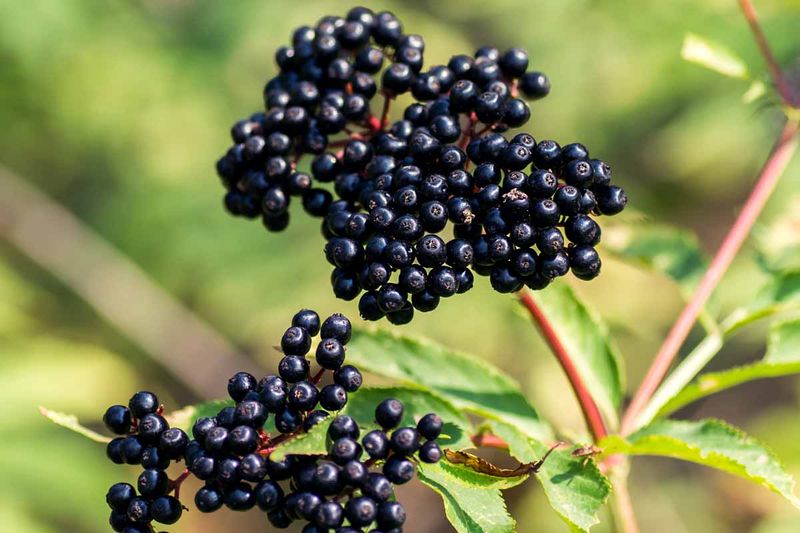
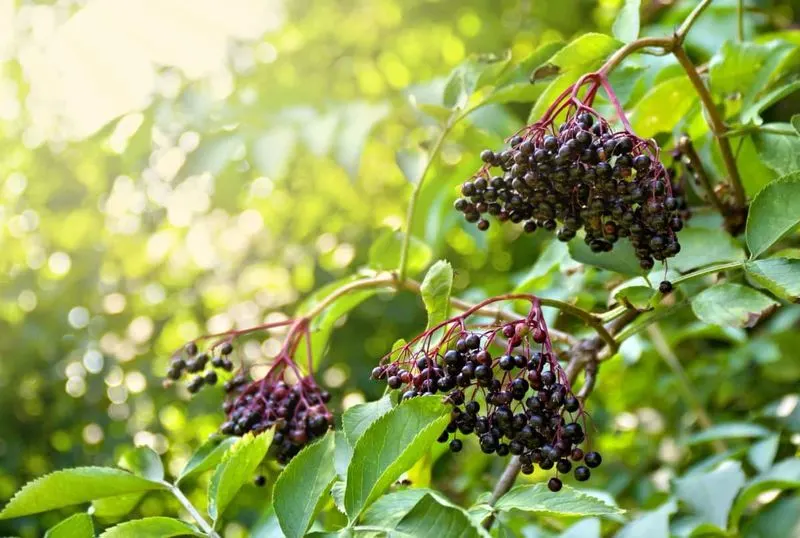
Harvesting Time
The reward for your efforts comes with harvest sentence . European elder are ready when they are deep purpleness and plump . Carefully pick the berry to invalidate damaging the works . Use them fresh or preserve them for later enjoyment . Harvest time usually occurs in late summertime to early fall , so keep an eye on your plants as the seasons change . Regular harvesting promote uninterrupted yield production , making the most of your elderberry plants . Enjoy the fruits of your labor in a potpourri of way , from fresh snacks to homemade hole and syrups .
Prepare for Next Season
preparation ahead see continued success with elderberries . After harvest , clean up any debris and cook the garden for winter . Consider taking novel film editing to expound your crop or share with friends . Review the retiring season ’s success and challenges to make informed determination for the next . Rotate planting locations if potential to prevent soil depletion and pest buildup . By put the foot for the approaching season , you set the phase for healthier plant and a richer harvest year after yr . attentive grooming keeps your garden thriving .
© Norm’s Farms
© Norm’s Farms

© Gardening.org
© Gardening.org

© GrowNutTrees.com
© Melissa K. Norris


© Gardener’s Path

© Grow Forage Cook Ferment
© Gardening.org

© Gardener’s Path

© Practical Self Reliance


© Gardening.org

© Melissa K. Norris

